Retail Boxes
Description
Retail Boxes | Custom Printed Packaging
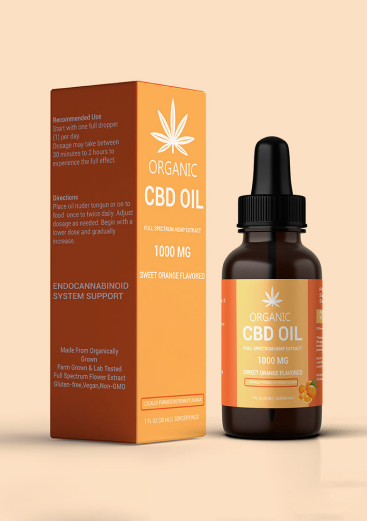
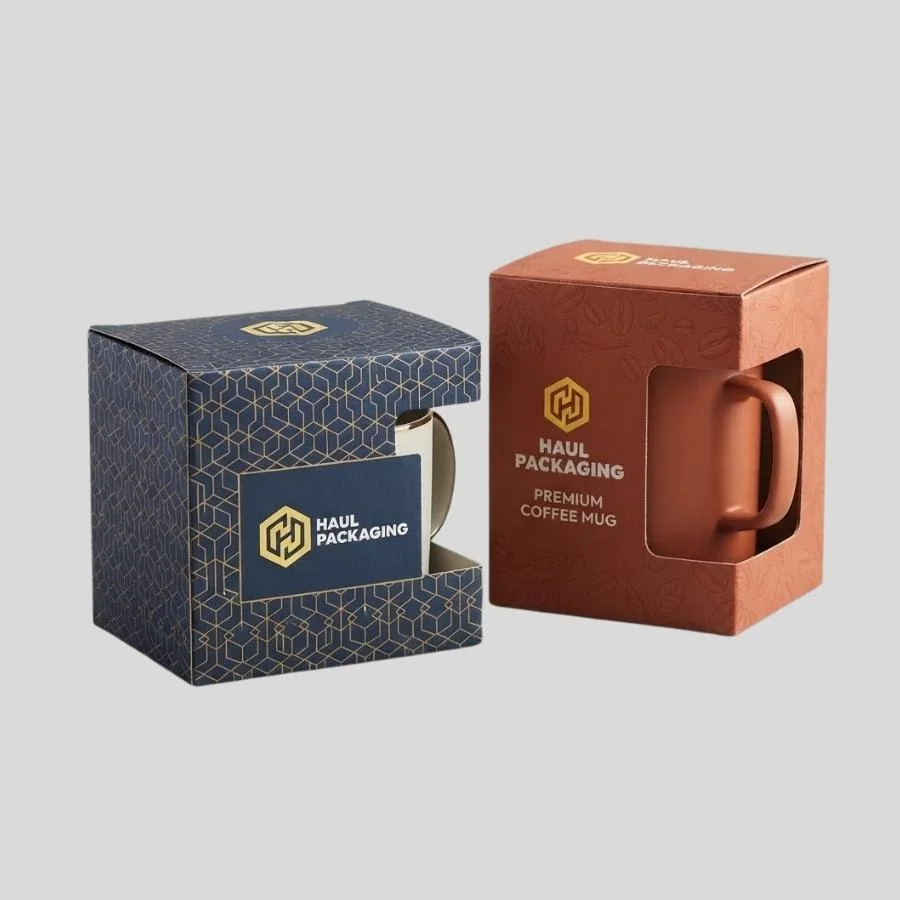
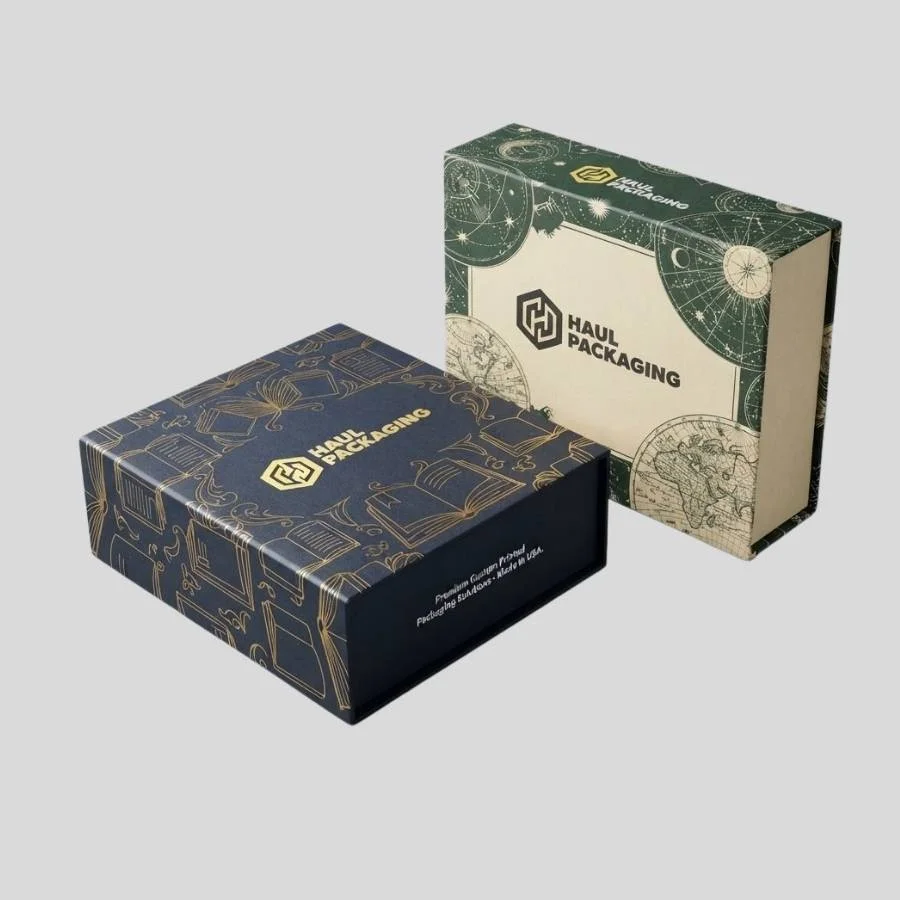
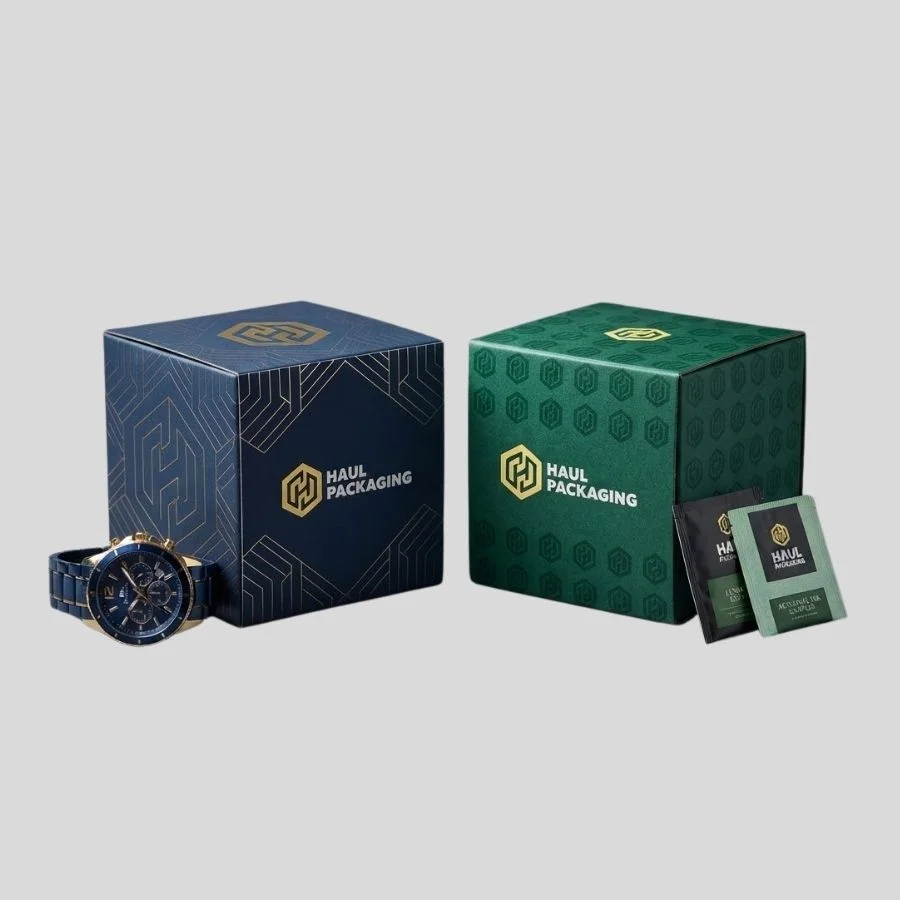
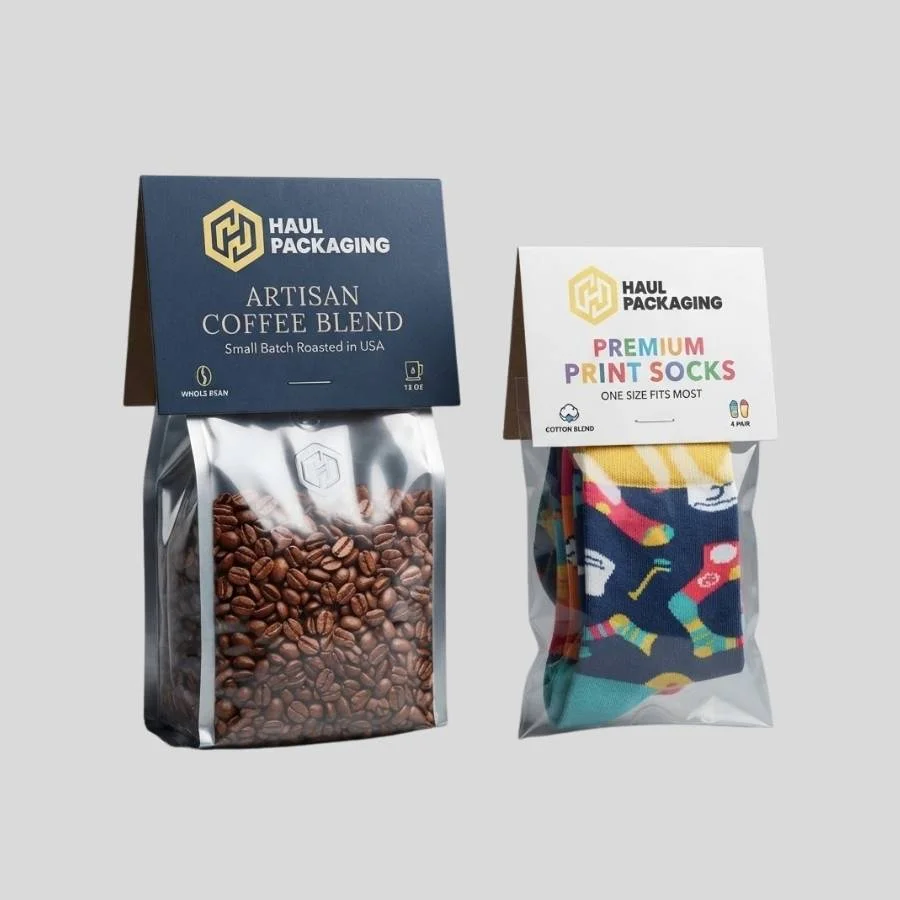
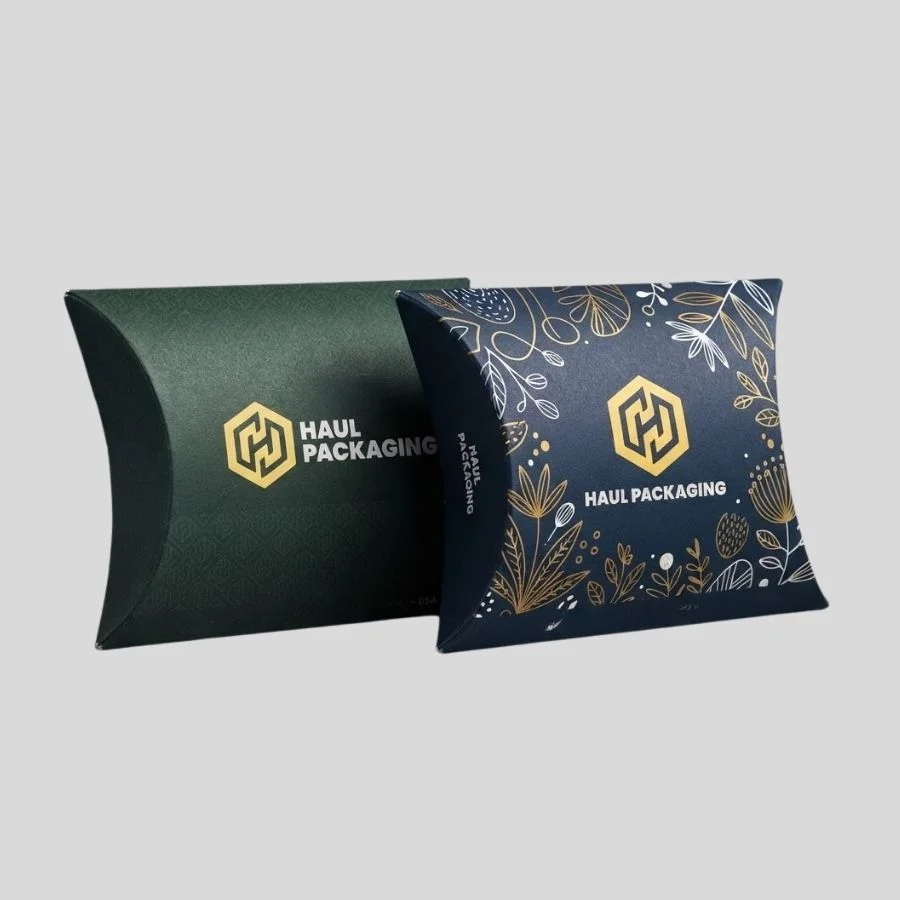
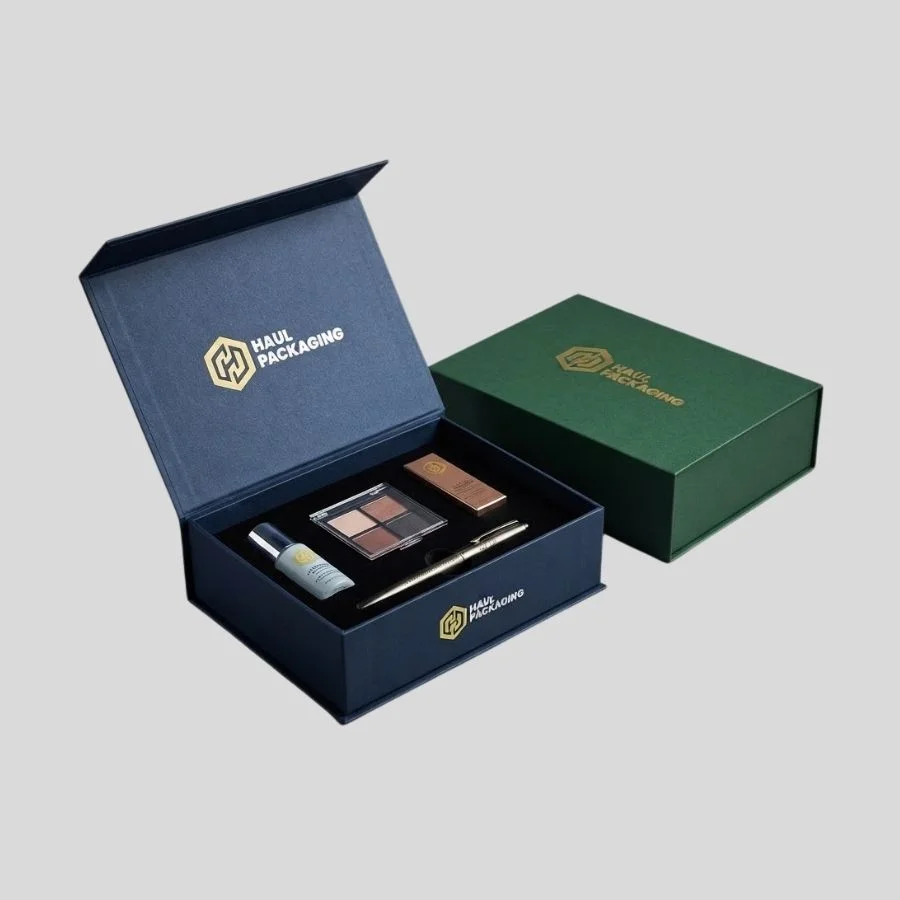
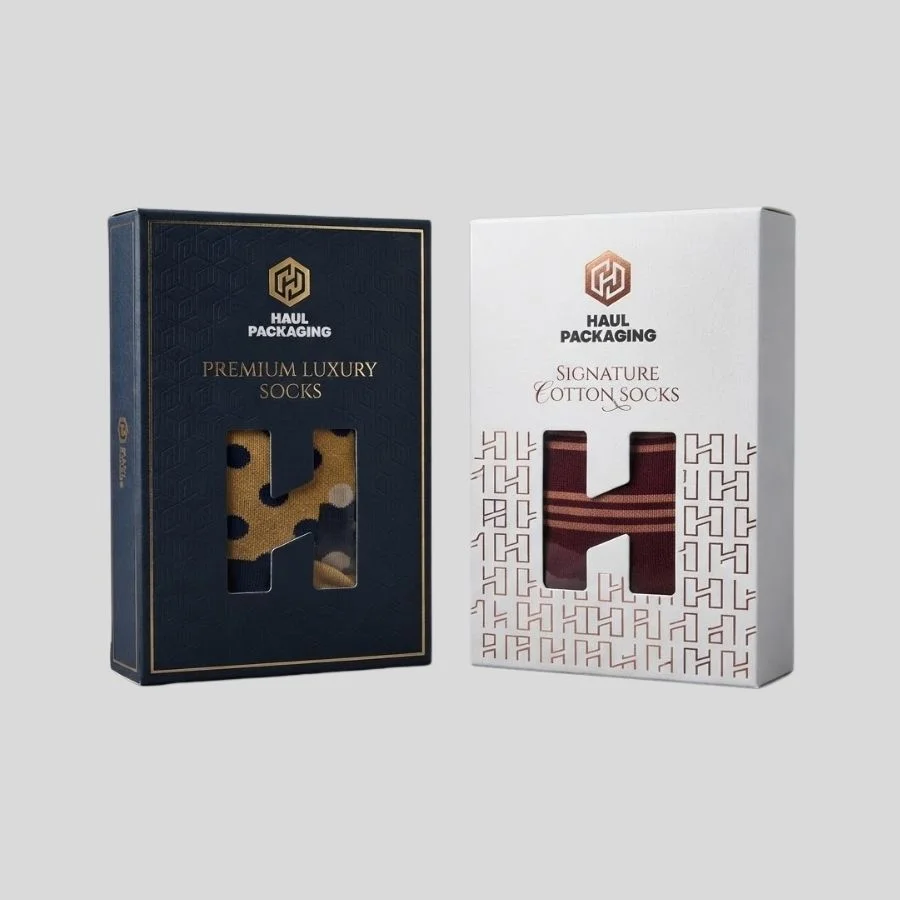
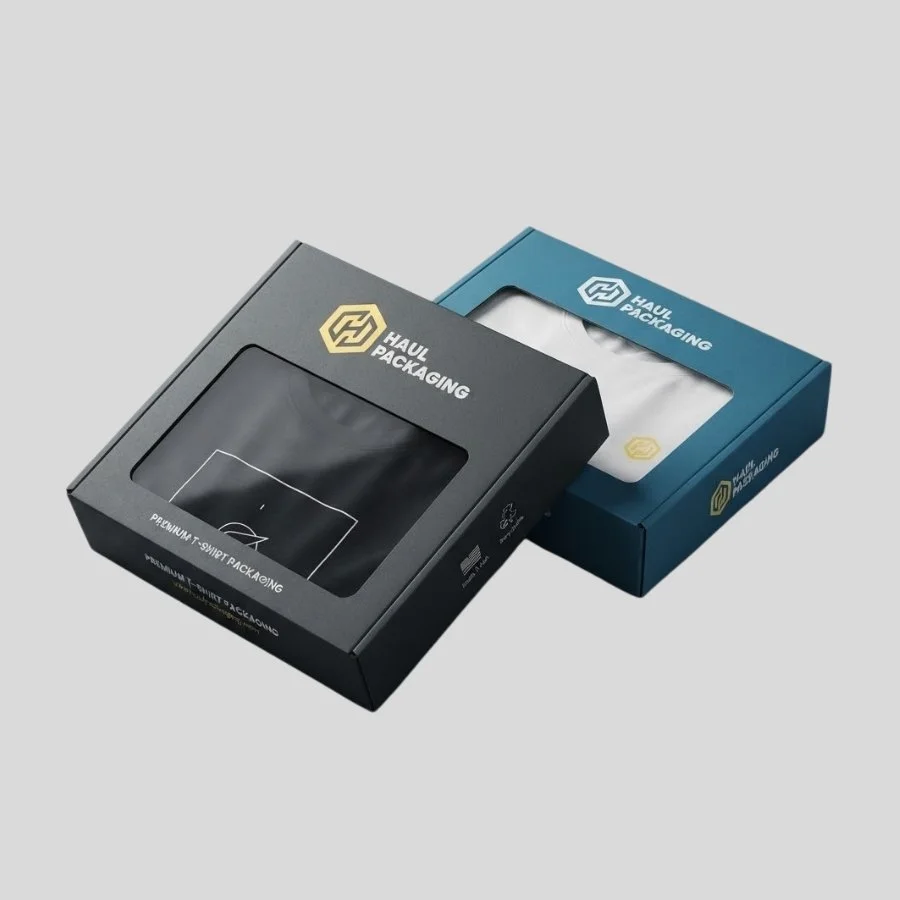
Retail boxes keep your product safe, show what it offers, and help customers recognize your brand. Good packaging also makes it easier to stock, display, scan, and carry your product.
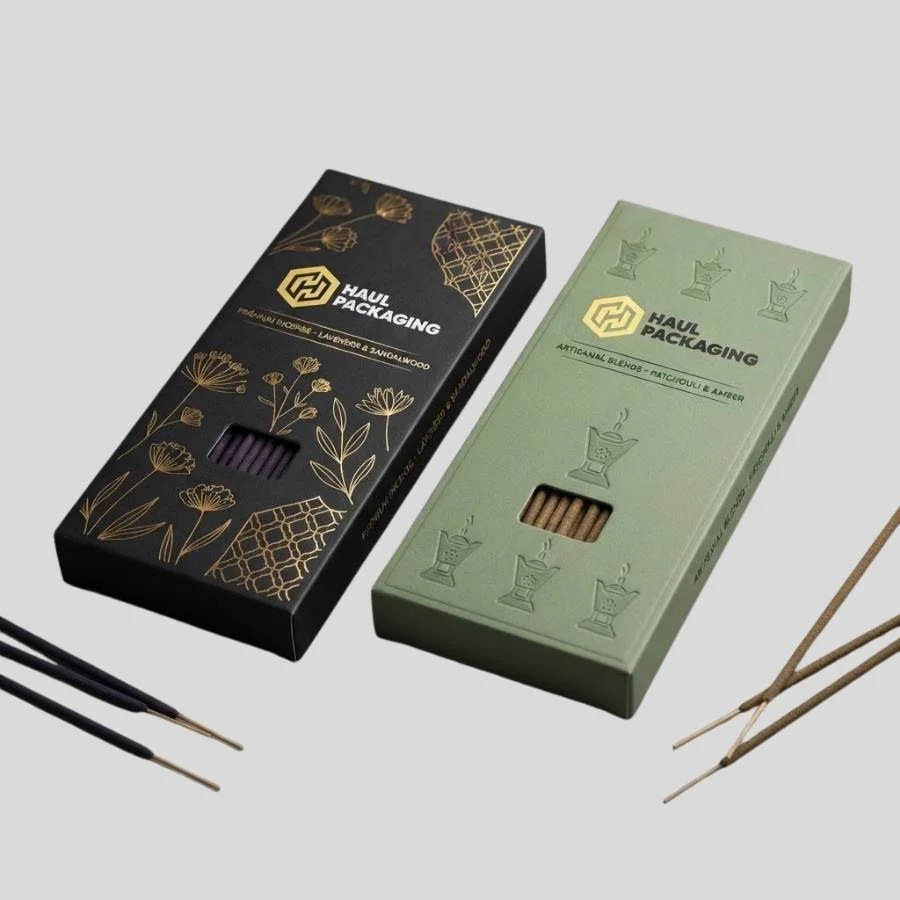
Haul Packaging provides custom packaging options for products sold on shelves, on counters, in online stores, and on promotional displays. You can choose the size, structure, printing, inserts, and finishing touches that best suit your product.
Browse the styles below, or send us your product measurements, quantity, artwork, and sales channel for a custom quote.
Start With the Product, Not the Box Style
A box might look good on a screen but not work well once you put your product inside.
Before picking retail boxes, measure your whole product. Remember to include items such as caps, lids, handles, inner bags, trays, and any protective wrappings; note the product's weight.
Next, think about how your product will get to the customer.
Will a retailer place it on a shelf? Will it hang from a display hook? Will staff arrange it near a checkout counter? Will the product also travel inside an e-commerce shipping box?
These details will affect the box's structure, size, material, and artwork layout.
A snug fit can keep the product from moving and make it look neater. Still, the box should have enough space for inserts, instructions, or extra packaging.
Check the Display Environment
Shelf Displays
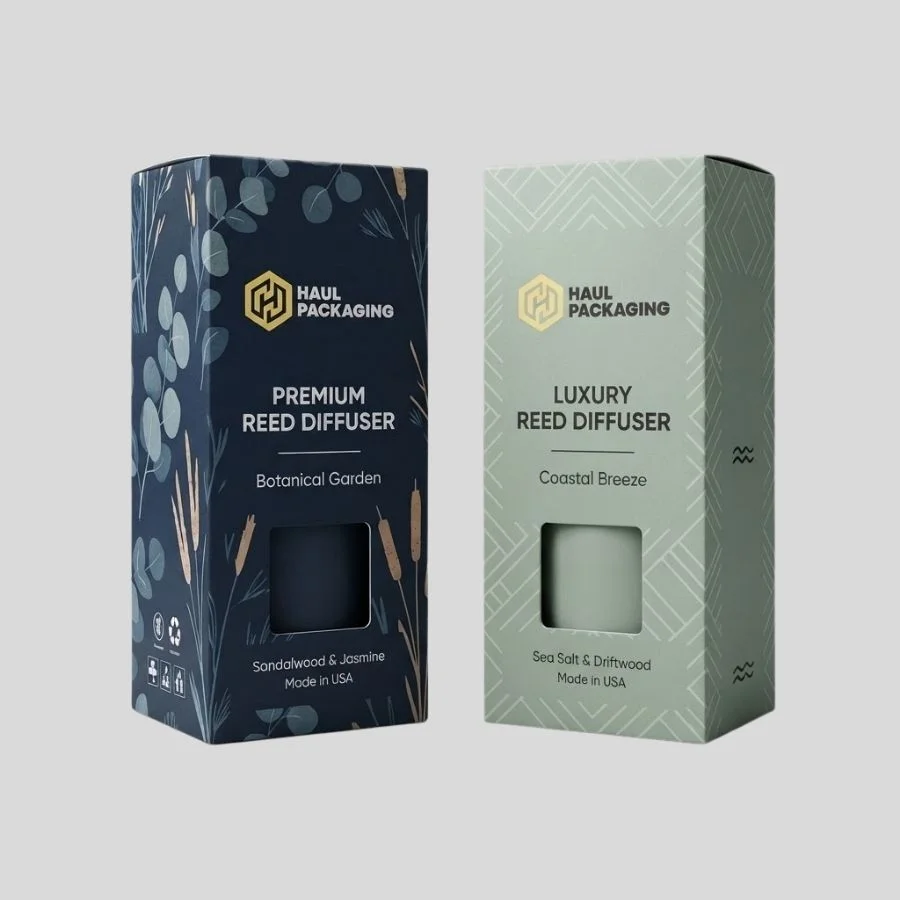
Shelf packaging needs a stable base and a clear front. Customers should be able to understand the product without picking up the box or reading every side of it.
Put the brand name, product name, and one main feature on the front. Add extra details on the sides or base; check the shelf's depth and height. If the box is too big, it can cause problems for retailers, even if it fits your product.
Counter Displays
Small products often sell well near checkouts, service desks, or promotional counters.
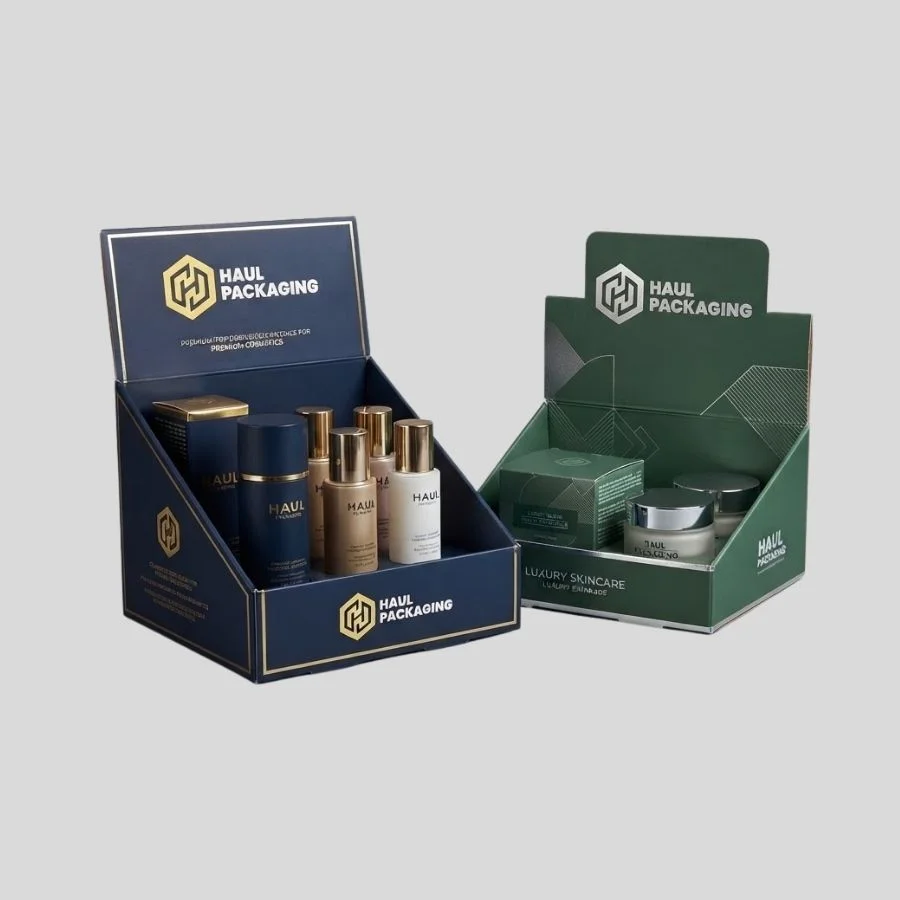
A retail display box can hold several items together and keep your branding visible. Before picking a structure, decide how many products it should hold and how customers will take them out.
Test the display using your real products. The total weight can affect the base, sides, and balance.
Hanging Displays
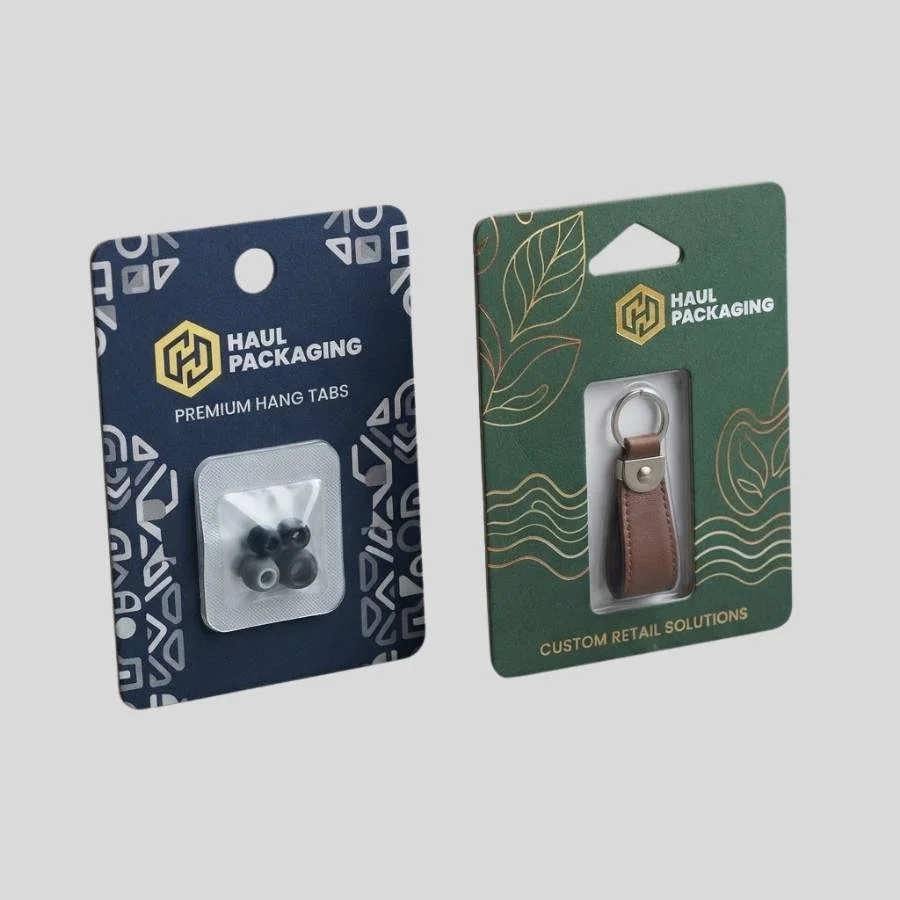
If your packaging needs a hang tab, add it to the design from the start. Don't wait until after you finish the size and artwork.
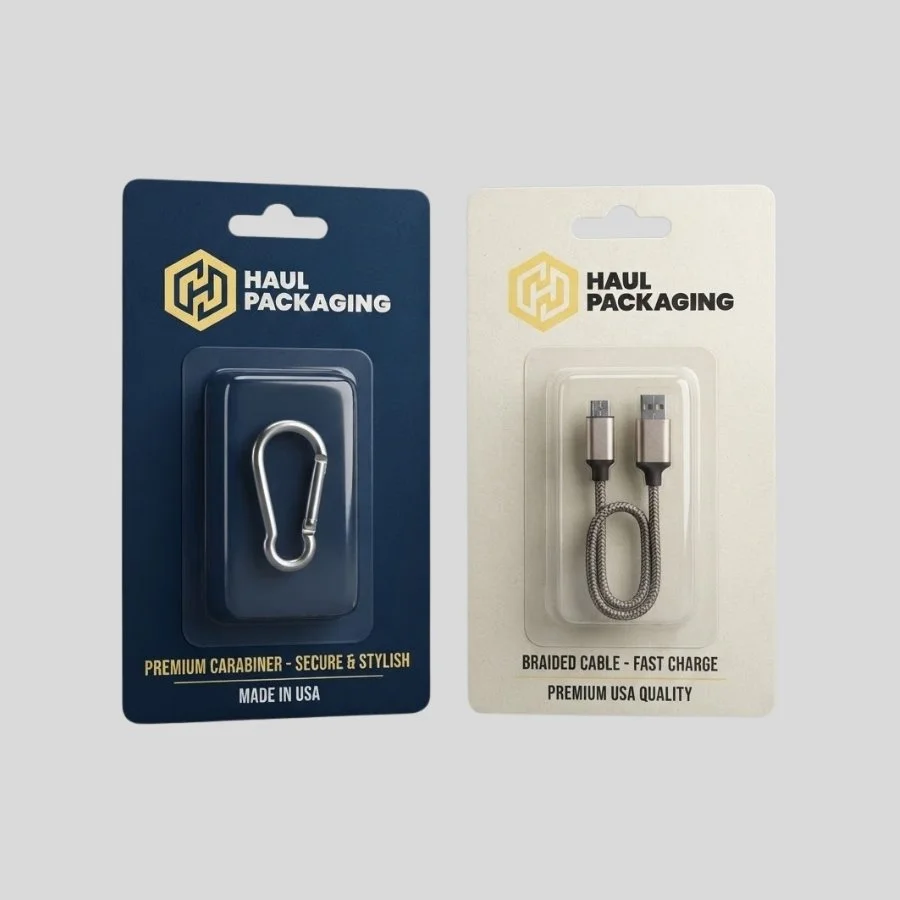
Make sure the tab can hold the packed product. Please ensure that the hanging box does not obstruct nearby products or price labels.
Ecommerce Listings
Keep the front design simple, so it's easy to read in small product images. Strong contrast, clear fonts, and consistent branding usually work better than busy designs.
Remember, your retail box might need an extra mailer or shipping carton. A decorative box alone may not protect your product during shipping.
Give Every Panel a Clear Purpose
Front Panel
- Who made the product?
- What is the product?
- Which version, size, or variety is it?
Side Panels
Use the side panels for extra details, like product features, directions, specs, or a short brand message.
Break up long information into short sections. Clear headings and spacing help make technical details easier to read.
Back Panel
The back panel can hold instructions, ingredients, warnings, contact details, and other required information.
Plan this content before you finish the artwork. Making changes late can lead to small text, uneven spacing, or crowded panels.
Bottom Panel
The bottom is a good place for batch details, production codes, recycling info, or other less important information.
Don't put important buying information there. Customers might not see it until after they buy the product.
Make Barcodes Easy to Scan
Put the barcode on a flat, easy-to-reach panel. Don't place it over folds, corners, textured spots, or big design elements.
Leave enough clear space around the barcode. Artwork shouldn't get in the way of the bars or numbers.
Test the printed barcode before you approve a full production run. A barcode that works on a screen might not scan right after printing, finishing, or resizing.
Choose the Structure for the Product
Different products need different types of retail boxes.
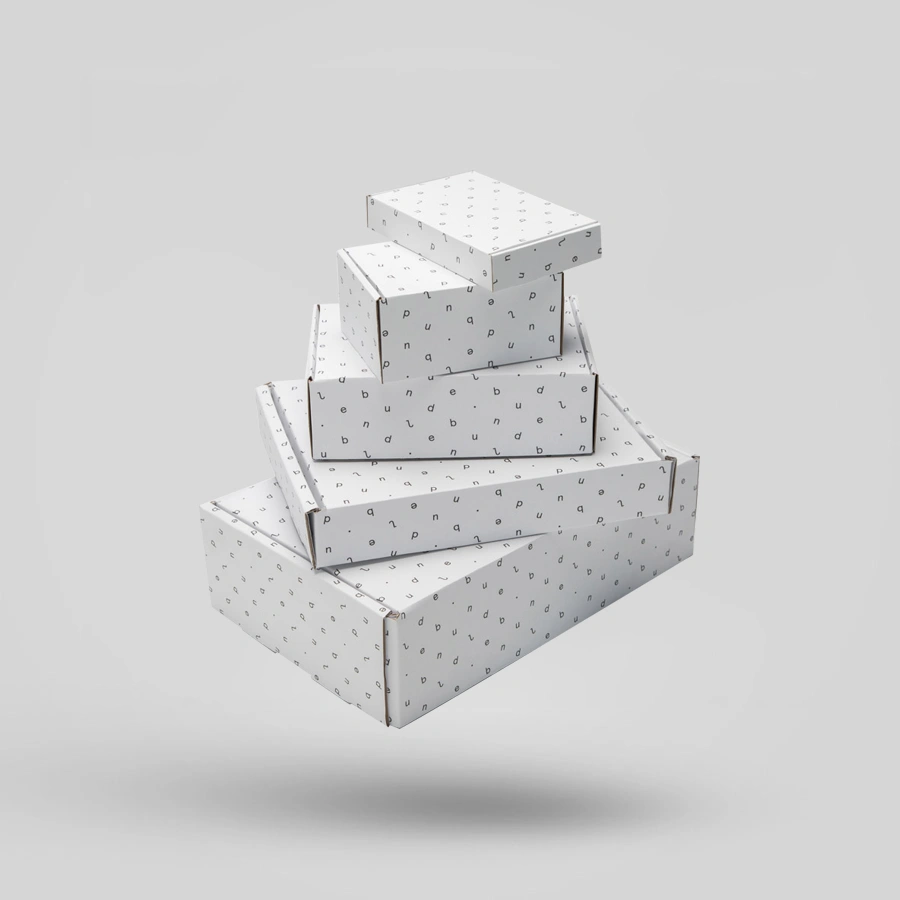
Lightweight products often work well with folding cartons. These boxes have several panels for printing and can be shipped flat for easy storage.
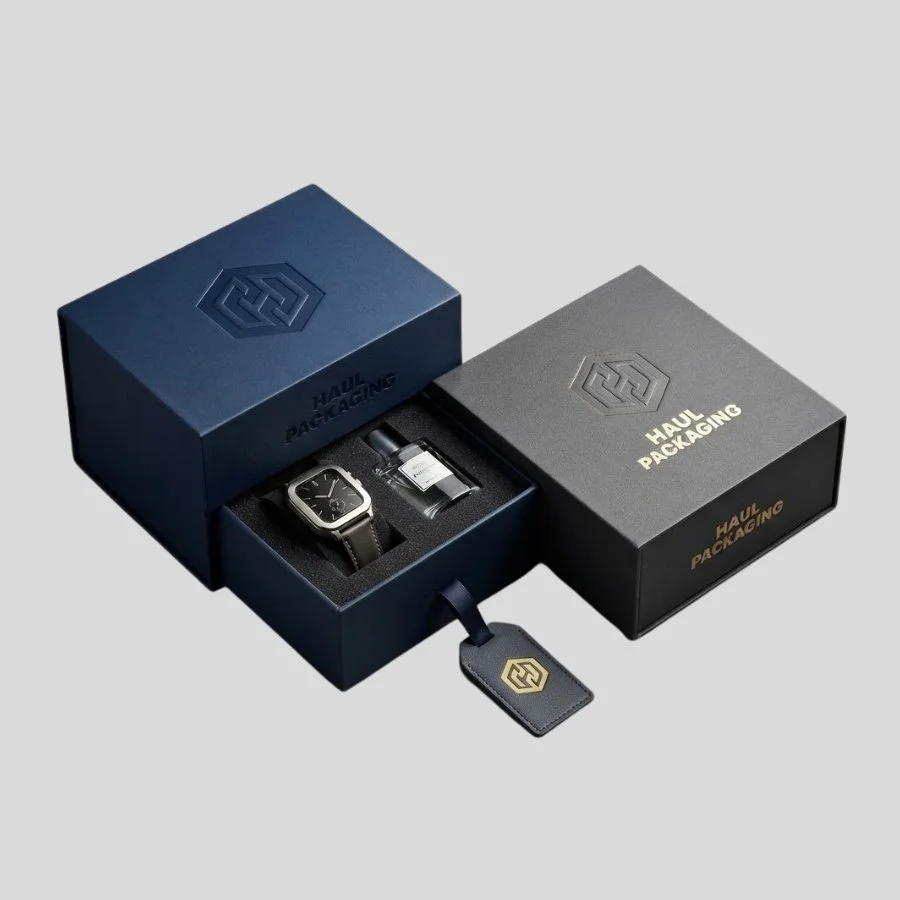
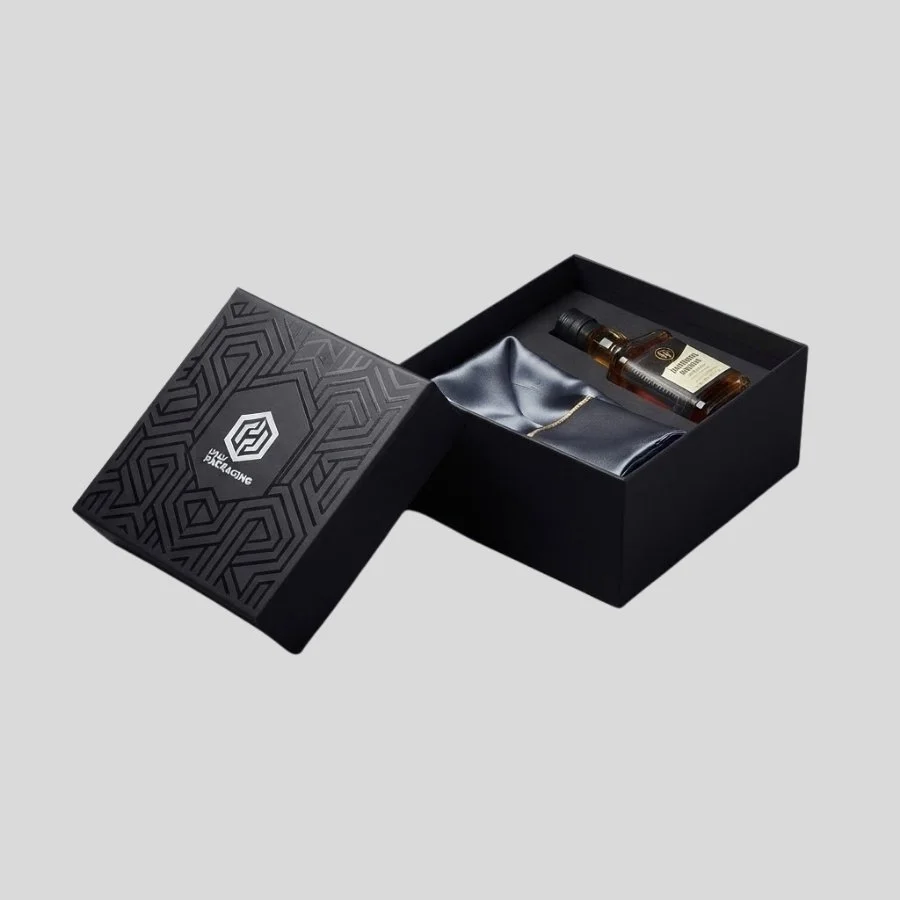
Premium products may look better in rigid boxes, with fitted inserts or sleeve-and-tray packaging. These options give a more controlled unboxing experience.
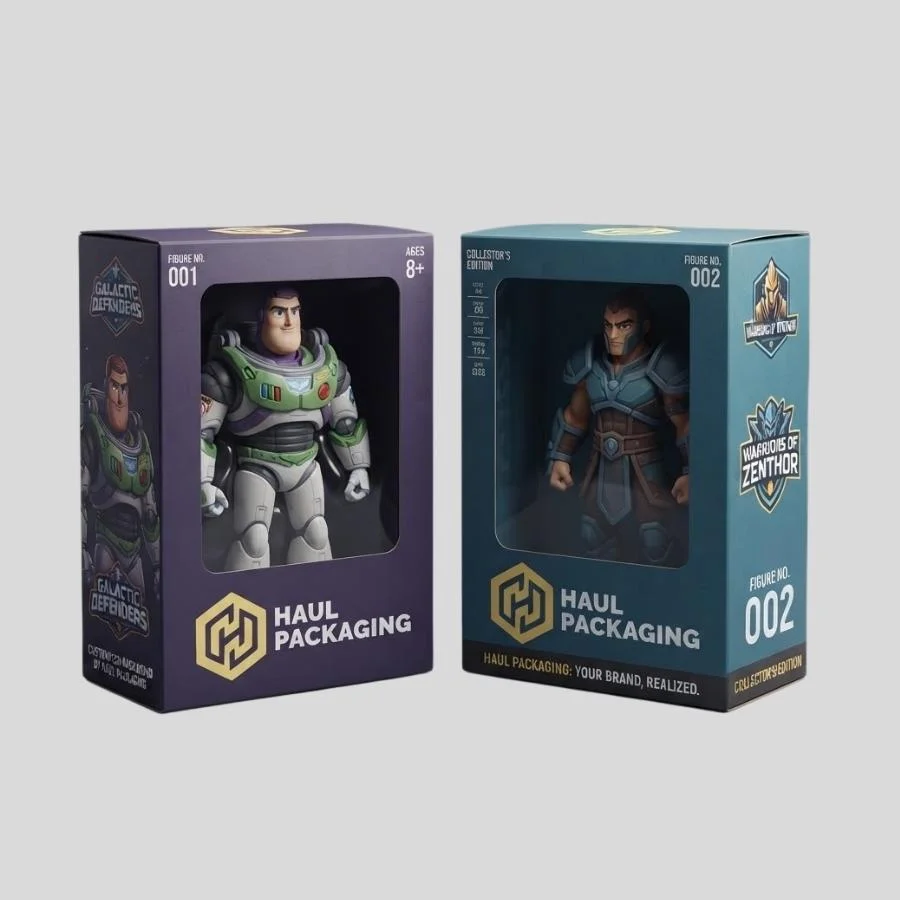
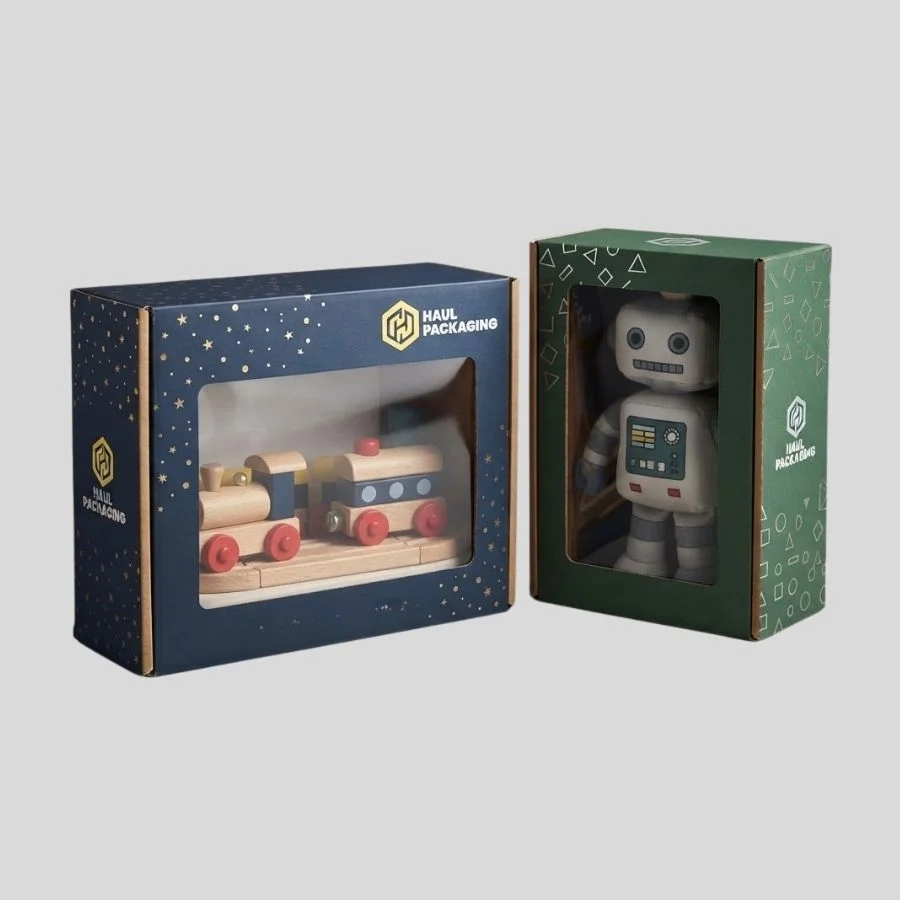
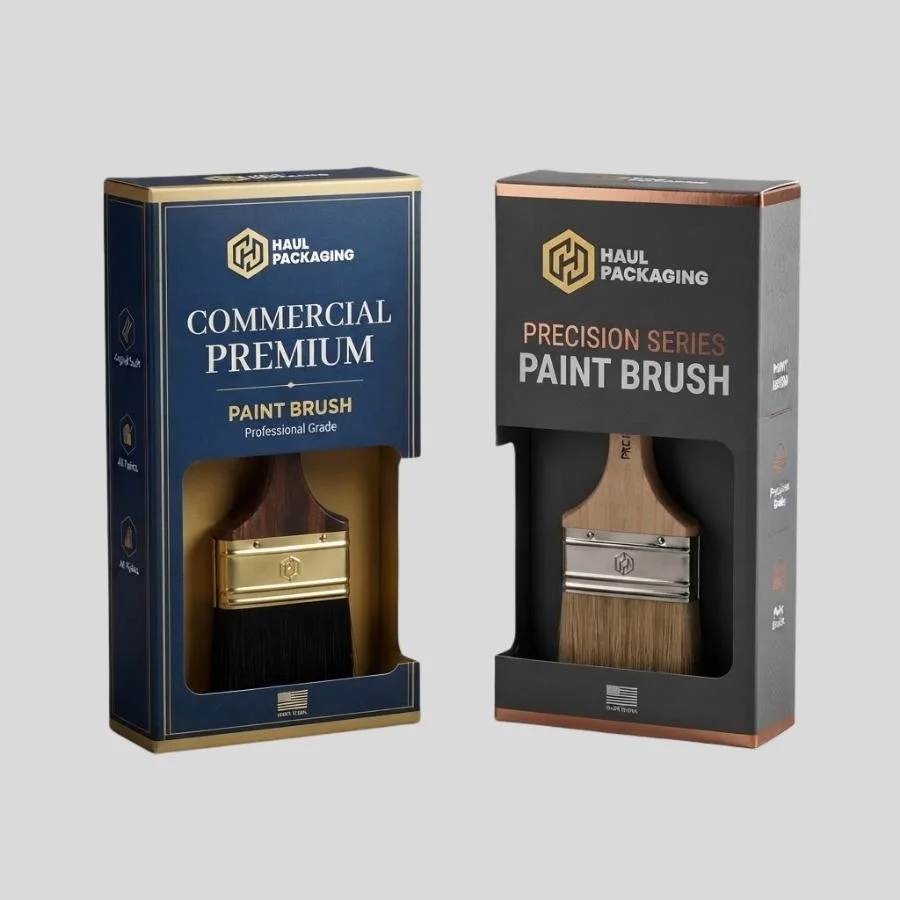
If customers want to see the product, try windows, cut-outs, or partly open boxes. Make sure the visibility has a clear reason. A big window can reduce print space and make the product easier to touch.
Heavier products may need stronger or corrugated material. Always check the real packed weight, not just how the box looks.
Use Inserts When They Solve a Problem
Inserts can keep products from shifting, separate items, and improve the package's appearance. They work well for bottles, accessories, gift sets, electronics, or delicate products.
The insert should fit the product's shape and weight. It needs to hold the item without squeezing it too much.
Test the insert with your finished product. Even small changes in caps, handles, or parts can affect the fit.
Build a Consistent Product Range
- Logo placement
- Typography
- Brand colors
- Product-name position
- Image style
- Barcode location
- Finishing details
You can use different accent colors for types, sizes, or varieties, but keep your main brand identity the same.
Review your entire product range together before production. A design might look right on its own but not fit with the others.
This review also helps you find differences in color, spacing, font size, and logo placement.
Select Printing and Finishes Carefully
- Full-color printing
- Kraft or white paperboard
- Matte or gloss lamination
- Soft-touch lamination
- Foil stamping
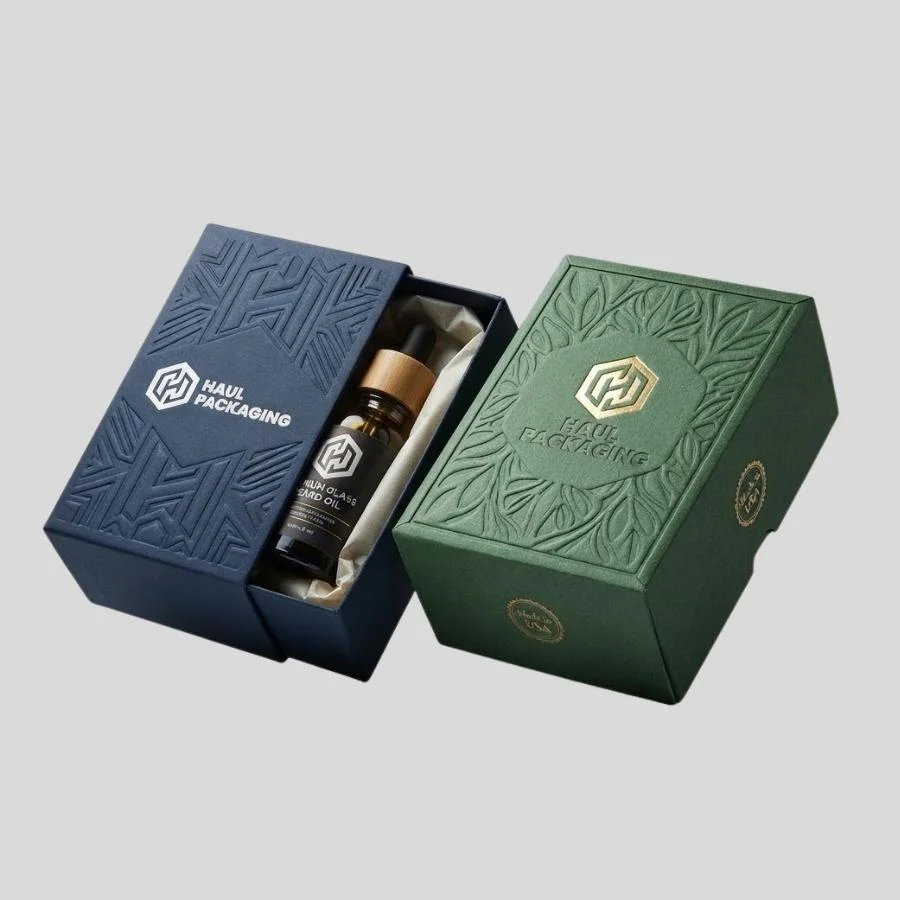
- Embossing
- Debossing
- Spot UV
- Window cut-outs
- Custom inserts
- Sleeves
- Handles
- Special closures
Choose each finish for a clear reason.
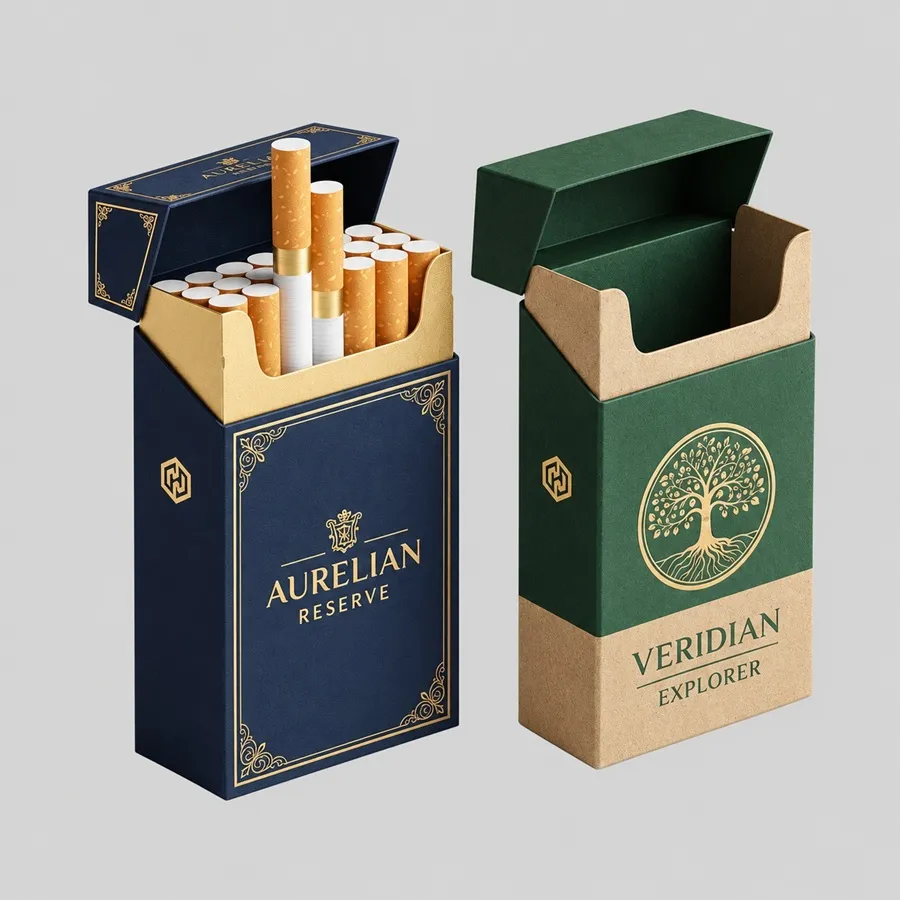
Foil can make a logo stand out. Embossing adds texture to a product name. Spot UV creates contrast in certain areas.
Using them doesn't always make better packaging. Sometimes, a simple design with one special detail looks more polished.
Make sure the finish works with your chosen material, structure, artwork, and order size.
Review a Sample Before Production
Put your real product in the sample box. Open and close it a few times. Check the fit, balance, inserts, folds, and how it closes.
Then look at the customer from your customer's perspective.
Ask:
- Can I identify the product quickly?
- Is the main text easy to read?
- Does the box stand or hang correctly?
- Can store staff scan the barcode?
- Does the product move inside the box?
- Is the opening process clear?
- Do the products match their positions and prices?
- Will the box work inside the shipping packaging?
Prepare a Clear Retail Packaging Brief
A complete brief helps the packaging team understand your project and give you an accurate quote.
Include:
- Product name and category
- Exact product dimensions
- Complete packed weight
- Required quantity
- Retail or e-commerce sales channel
- Shelf, counter, or hanging-display use
- Preferred box structure
- Material preference
- Insert or window requirements
- Printing details
- Artwork files
- Barcode position
- Preferred finishes
- Sample requirements
- Target completion date
Why Us?
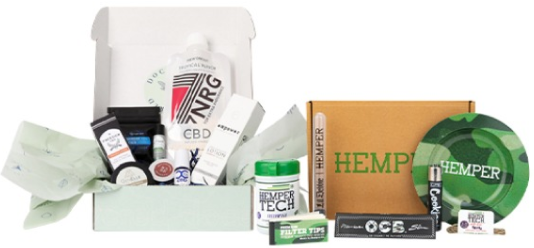
At Haul Packaging, we believe your packaging is more than just a box—it's a marketing tool, a brand ambassador, and a promise of quality, all rolled into one. Whether you're running a small e-commerce startup or an established retail brand, this guide will walk you through everything you need to know about finding the perfect custom packaging in the USA.
Premium Finishes
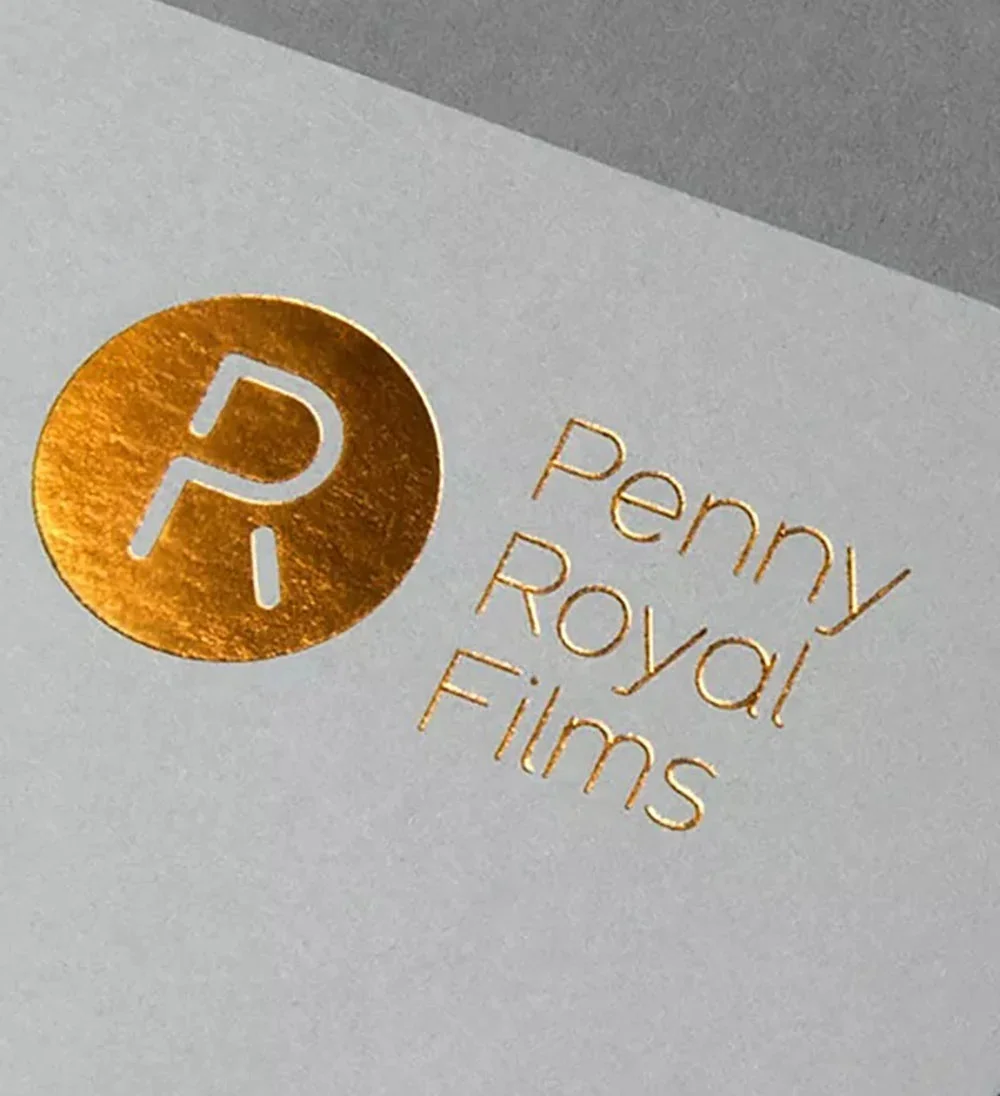
Haul Packaging provides a range of high-quality finishings, including as foil stamping, glossy or matte coatings, embossing, and soft-touch finishes, to improve the visual attractiveness of packaging. These finishes have the power to increase a product's perceived worth and make it stand out on retail shelves.
Copper Foiling
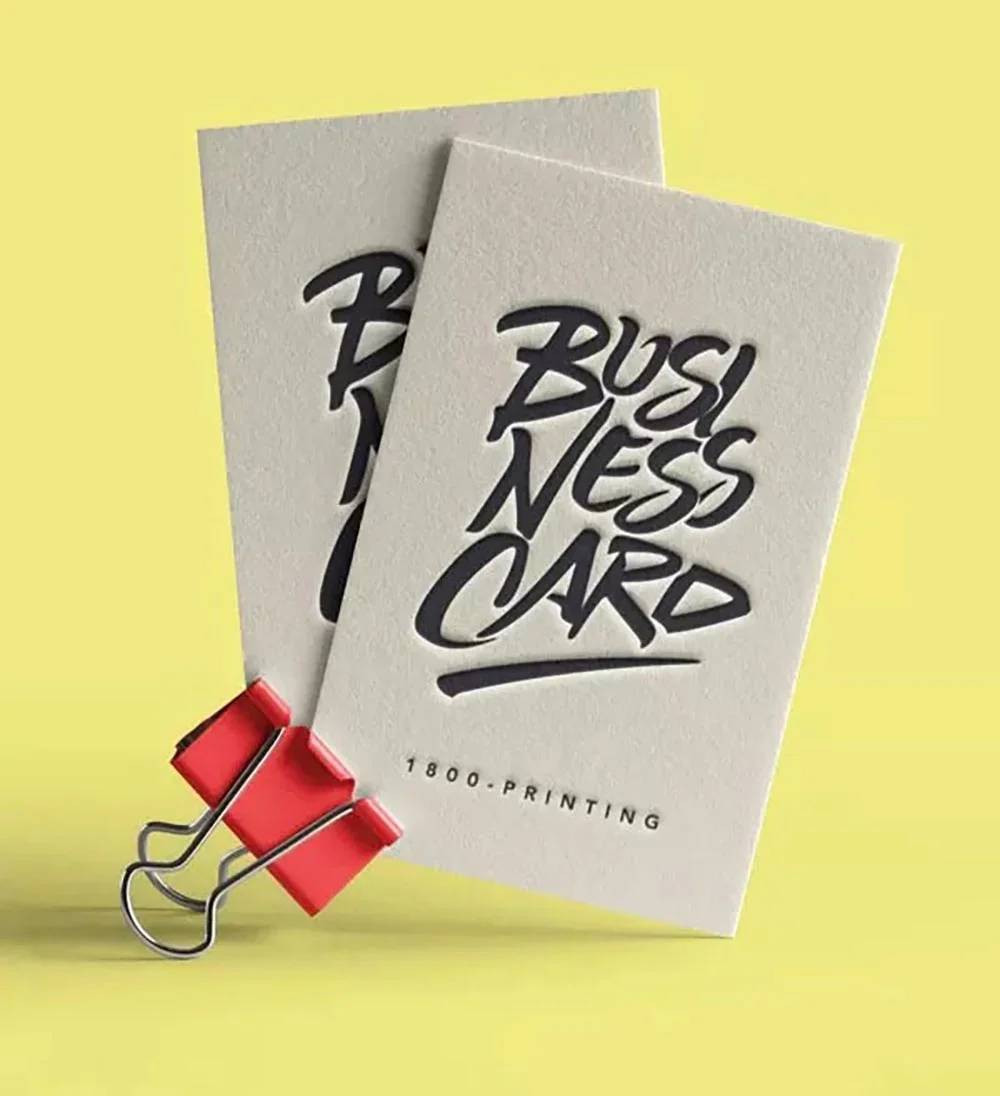
Debossing
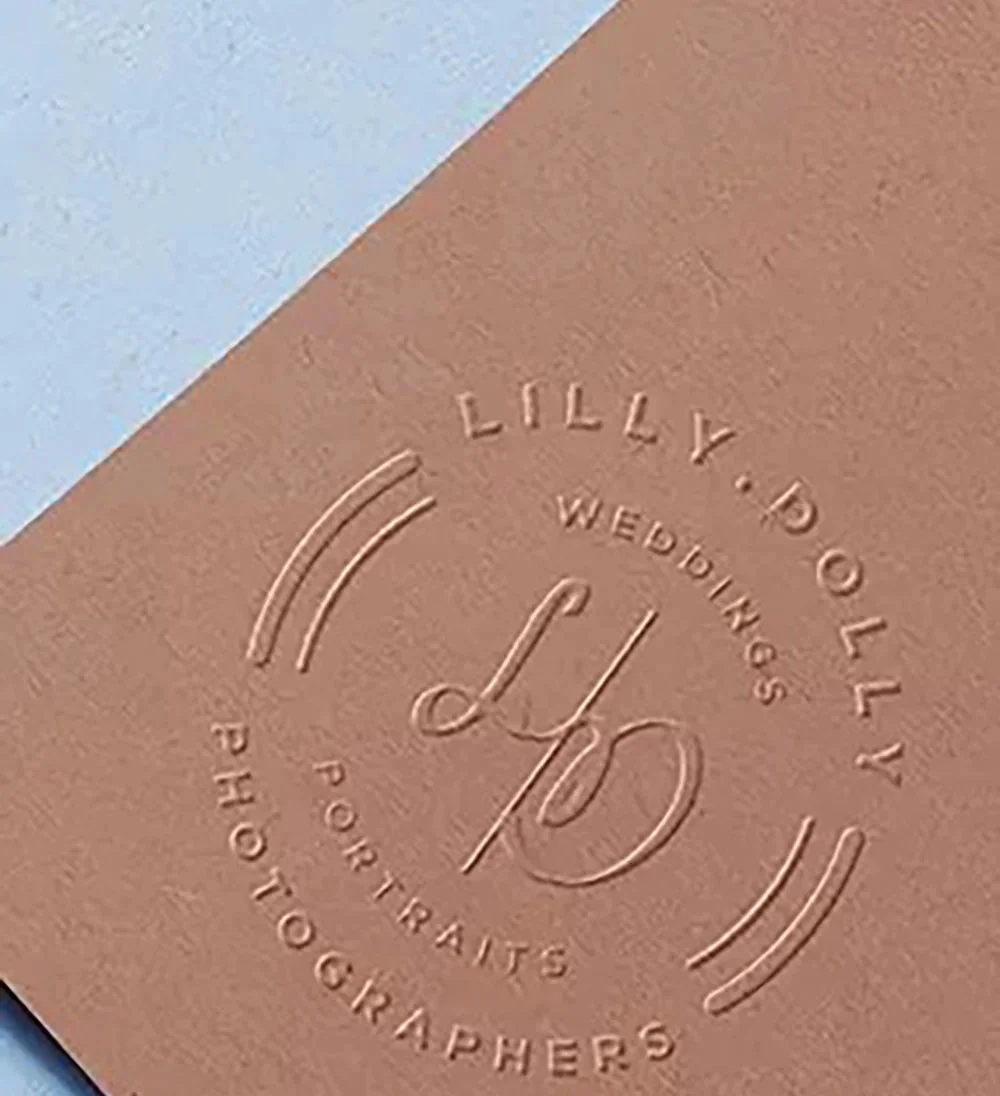
Embossing
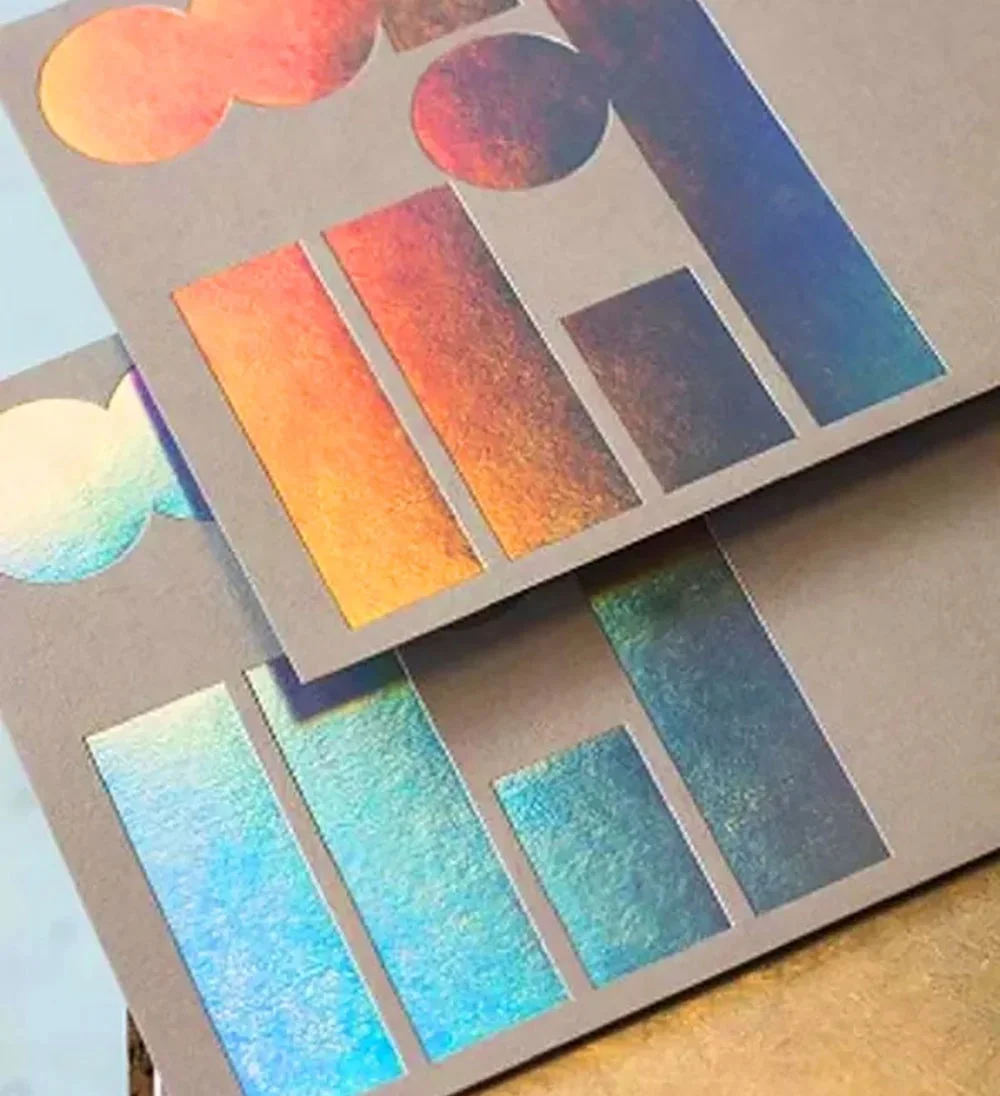
Holographics foiling
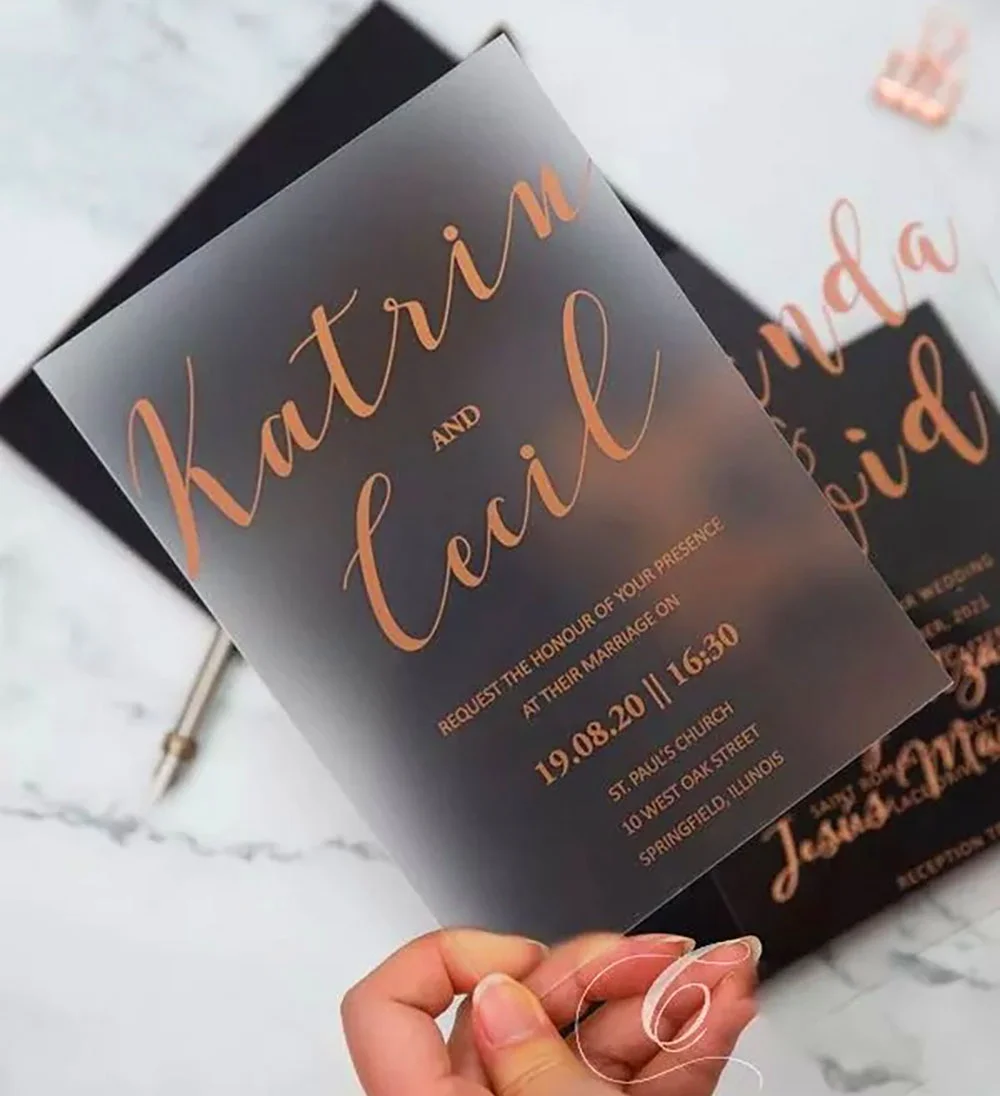
Rose Gold
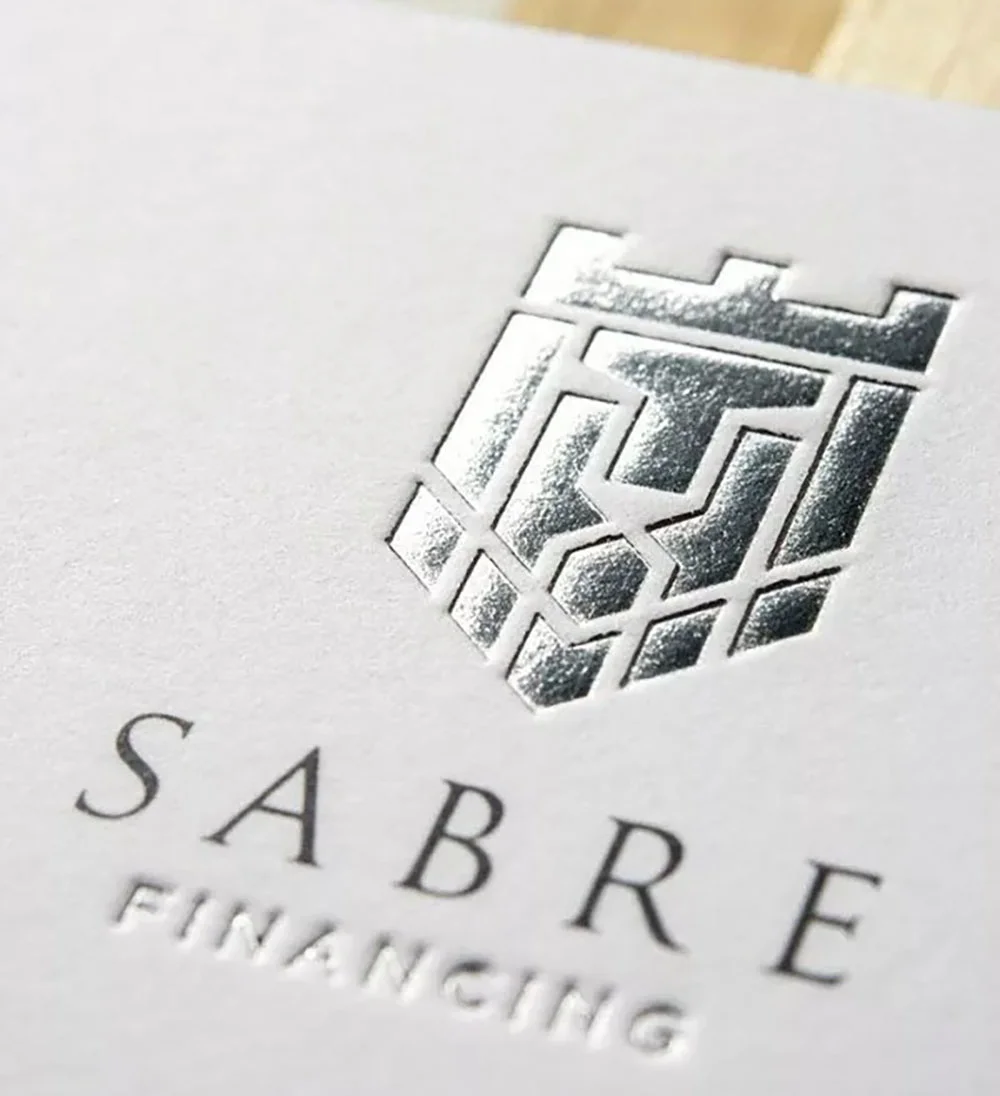
Silver Foiling
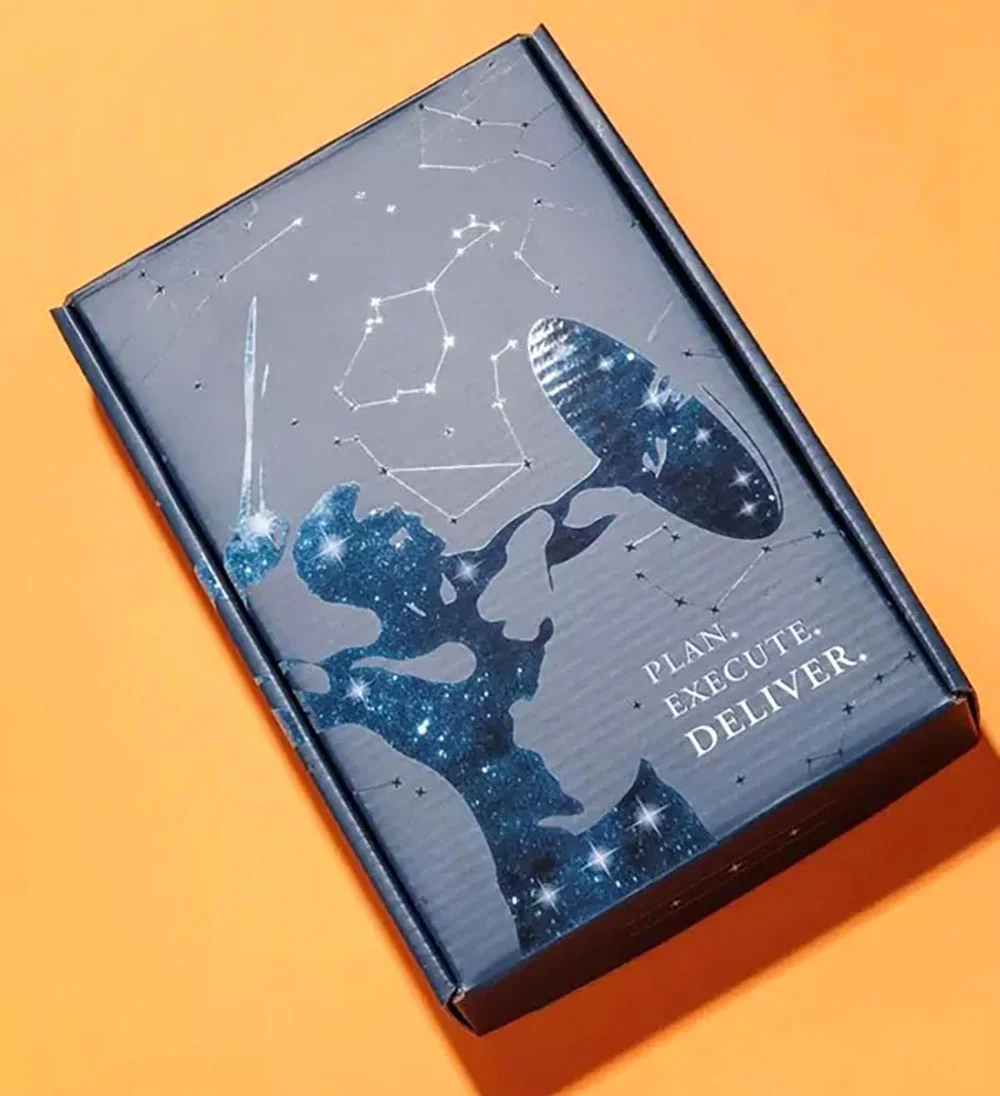
Spot UV
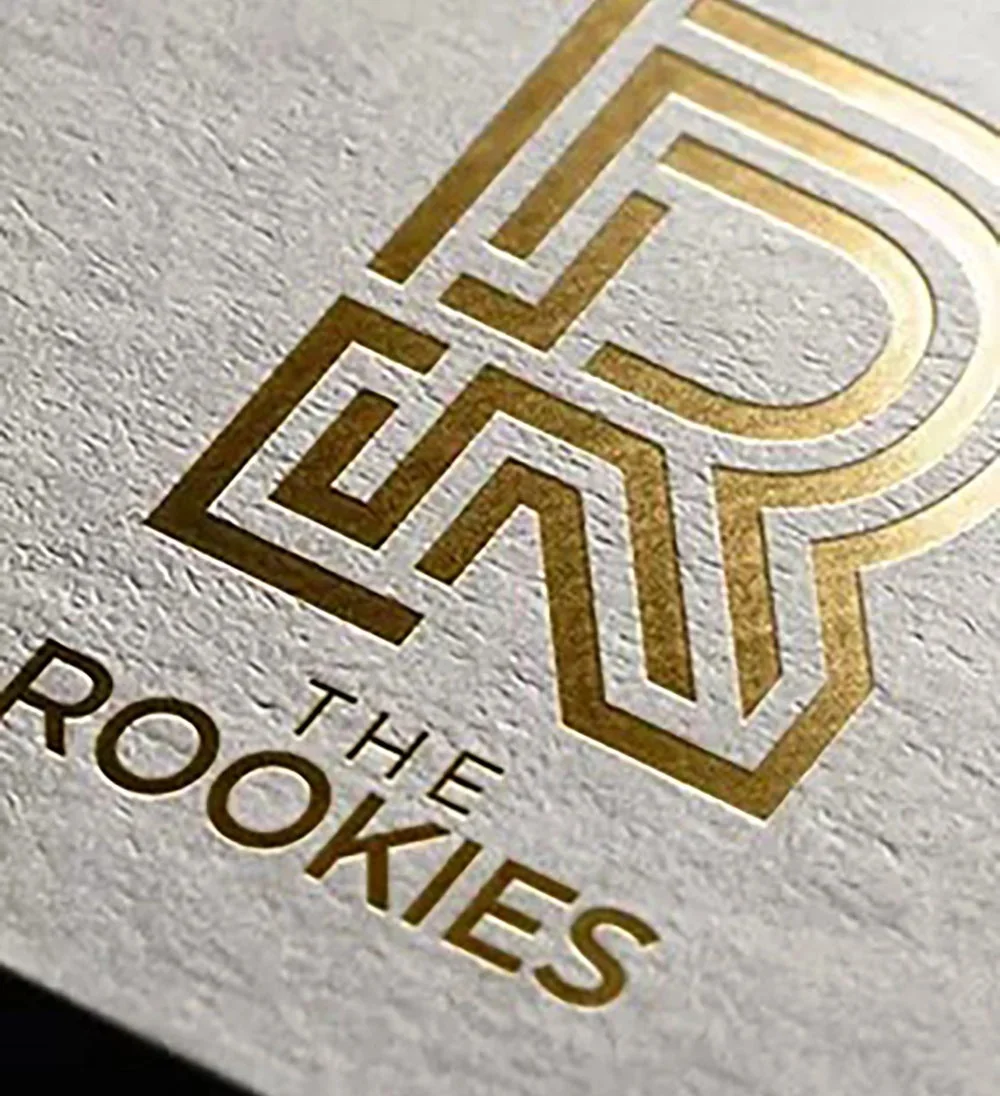
The Rookies
Card Stock Options
Haul Packaging provides a large selection of card stock types to meet various needs for packaging. You may give your box an adorning appearance and feel by selecting from a range of cardstocks with varying thicknesses, textures, and colors. The card stock selections for Haul Packaging are of excellent quality and longevity, guaranteeing that the packaging not only looks fantastic but also protects the contents within.
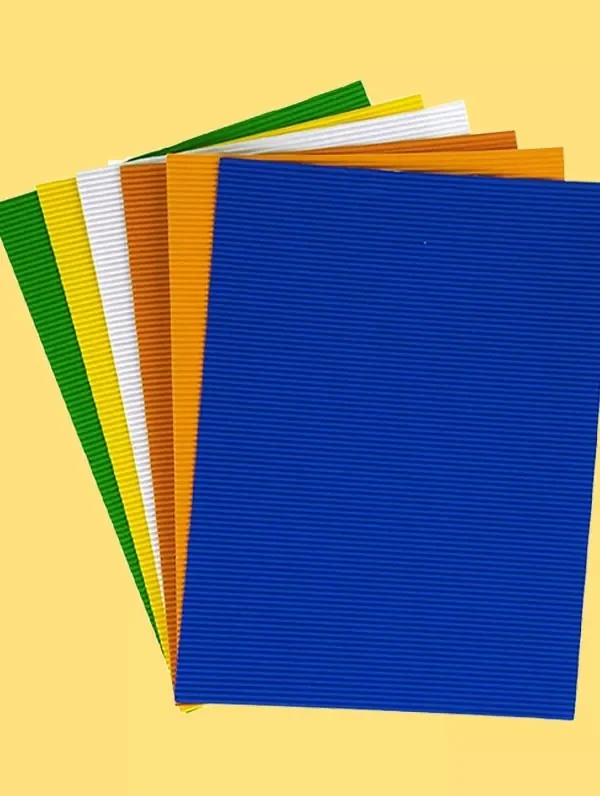
Corrugated

Glitter
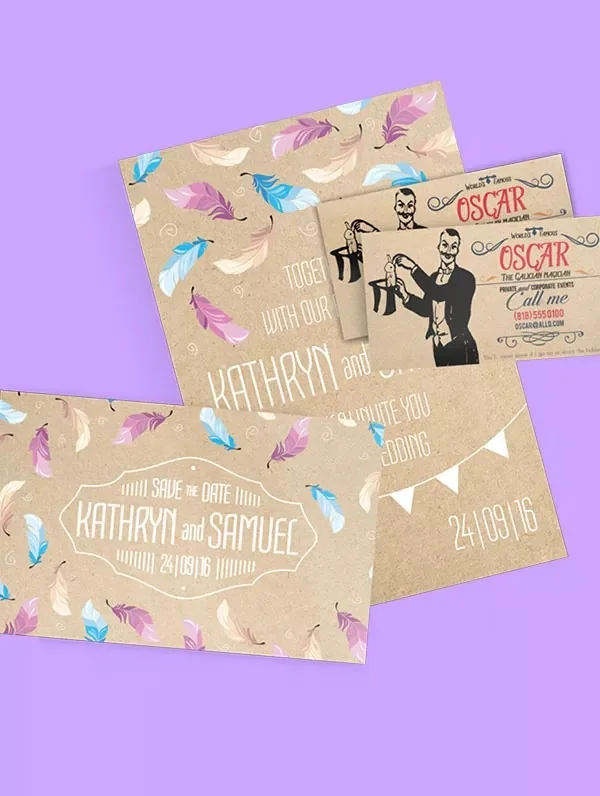
Kraft
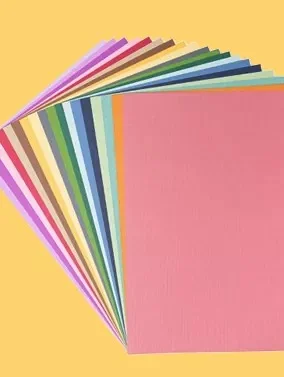
Matte
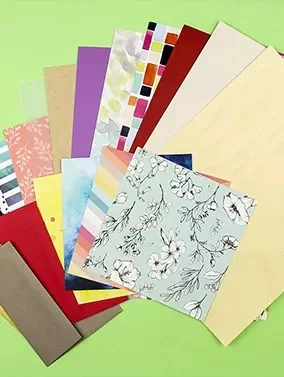
Textured
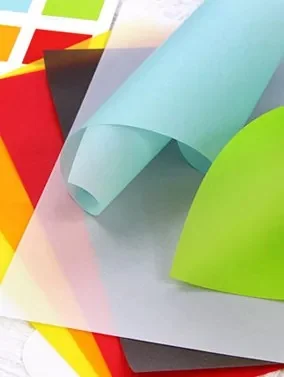
Vellum
FAQs
-
What if I'm not a big company? Can I still order? Absolutely! We are proud to offer custom boxes with no minimum order. This makes it easy for small businesses to get the high-quality packaging they deserve.
-
How can I make my packaging more eco-friendly? We can help! You can choose kraft boxes, which are brown and recyclable, or boxes made from recycled materials. We can also use eco-friendly inks.
-
Do I need to have a design ready? Not at all! Whether you have a complete design or just an idea, our free design support team is here to help you bring it to life.
-
How long does it take to get my boxes? Production usually takes 4-6 business days. Shipping is fast across the USA. Need it sooner? Just ask us about rush options.
-
Do you offer wholesale discounts? Yes, we do! We offer great prices on wholesale retail boxes. The more you order, the more you save.