Custom Rigid Boxes
Description
Custom Rigid Boxes: Premium Manufacturing at Wholesale
Many brands start by talking about colors, foil, or lamination. But the way a package opens has a bigger impact on how customers experience it.
First, decide how the lid will open. Then, think about how the product should look when the box is opened. Lastly, check how your team will store, assemble, and pack the boxes.
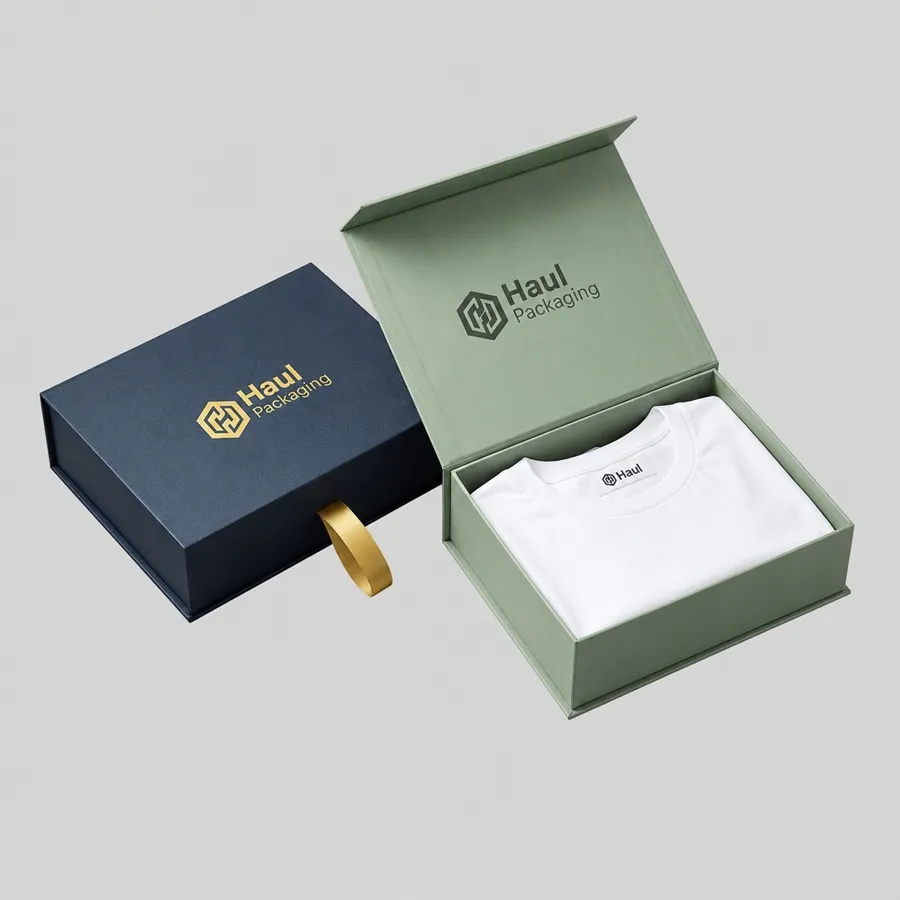
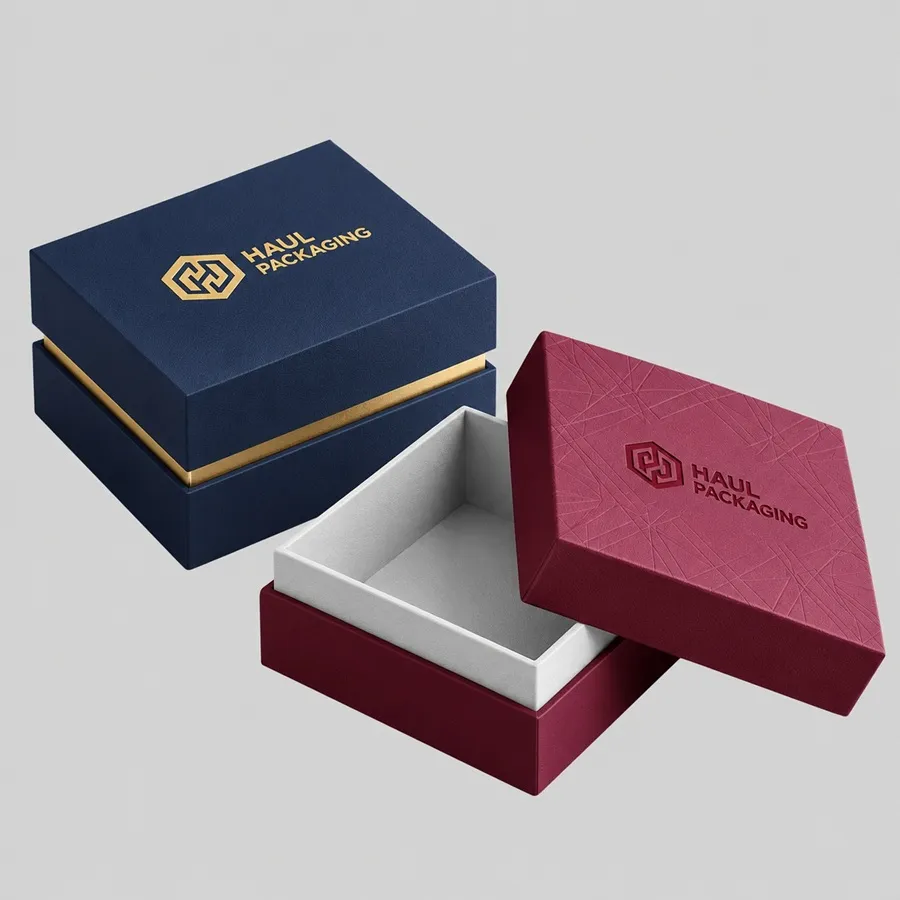
A Clean Lift-Off Reveal
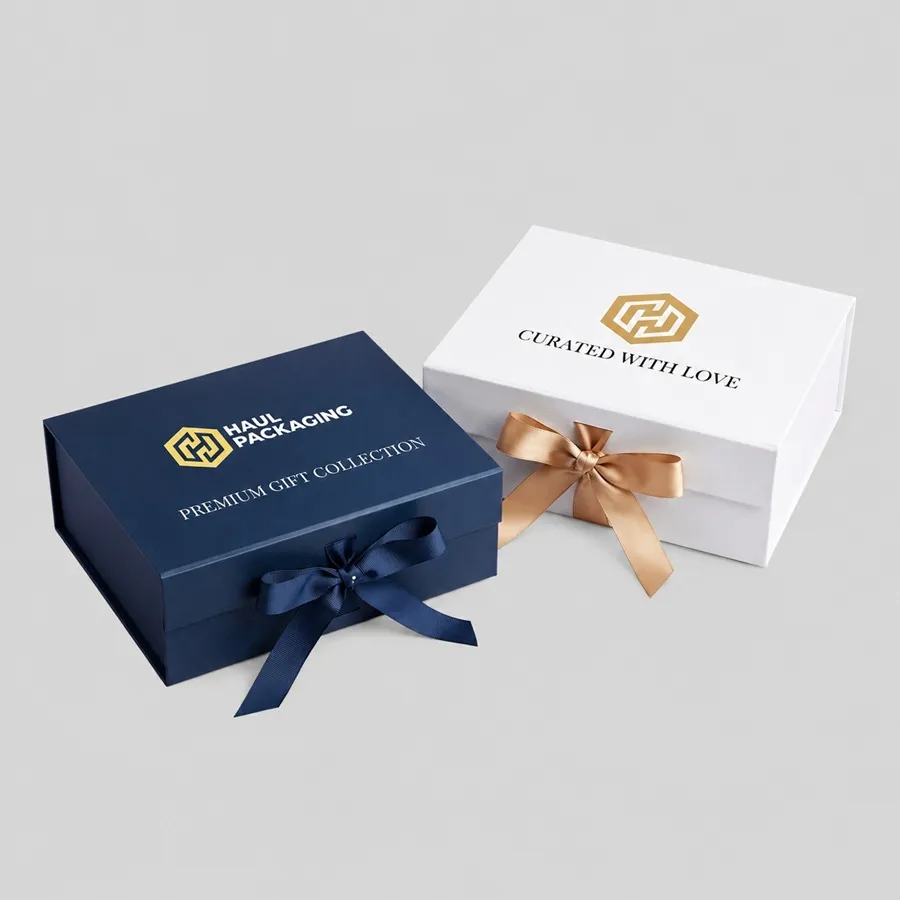
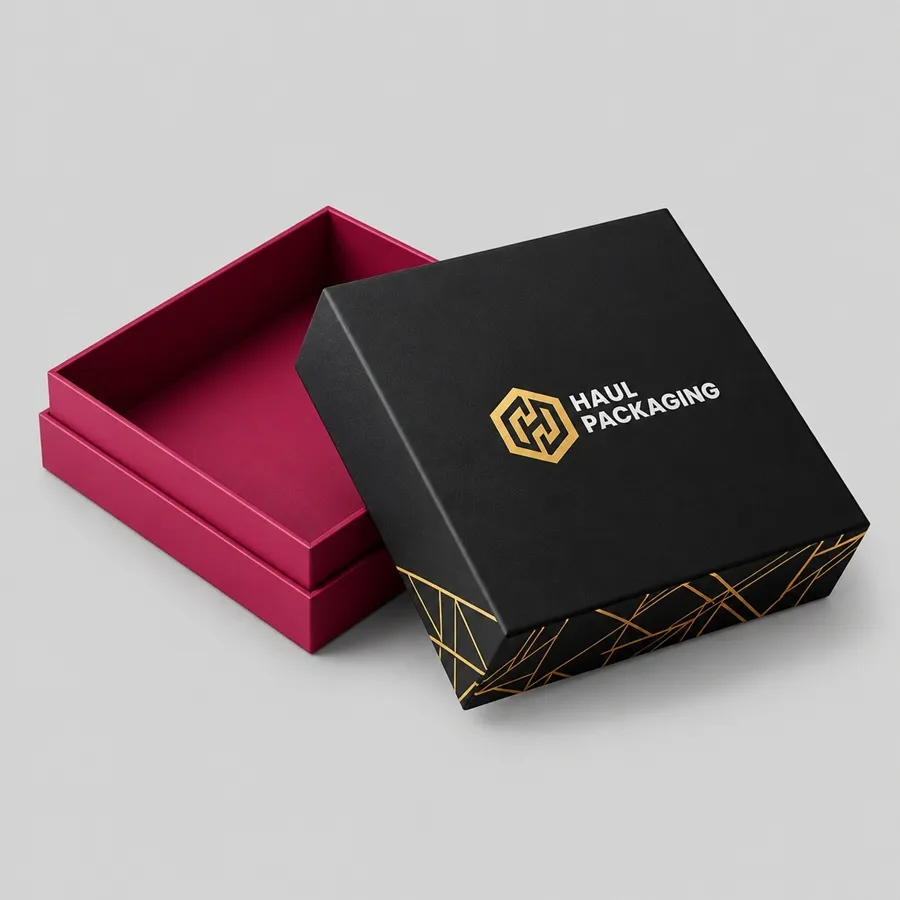
A box with a separate lid gives a familiar and balanced look. This style is a good choice for gifts, clothing, accessories, and product sets.
Custom rigid setup boxes hold their shape and come ready to pack. You can use them for a simple two-piece design or add a more detailed inside layout.
Rigid gift boxes are also great for products that should be clearly seen when the lid is lifted. If the product needs to stay in place, you can add an insert.
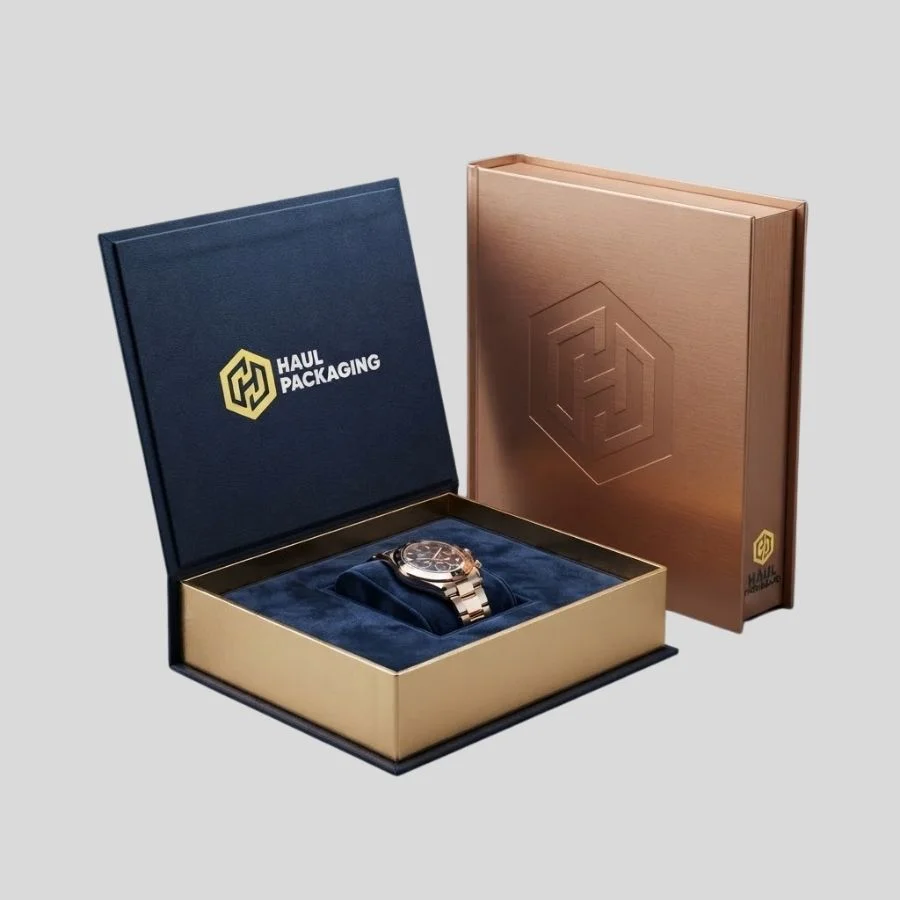
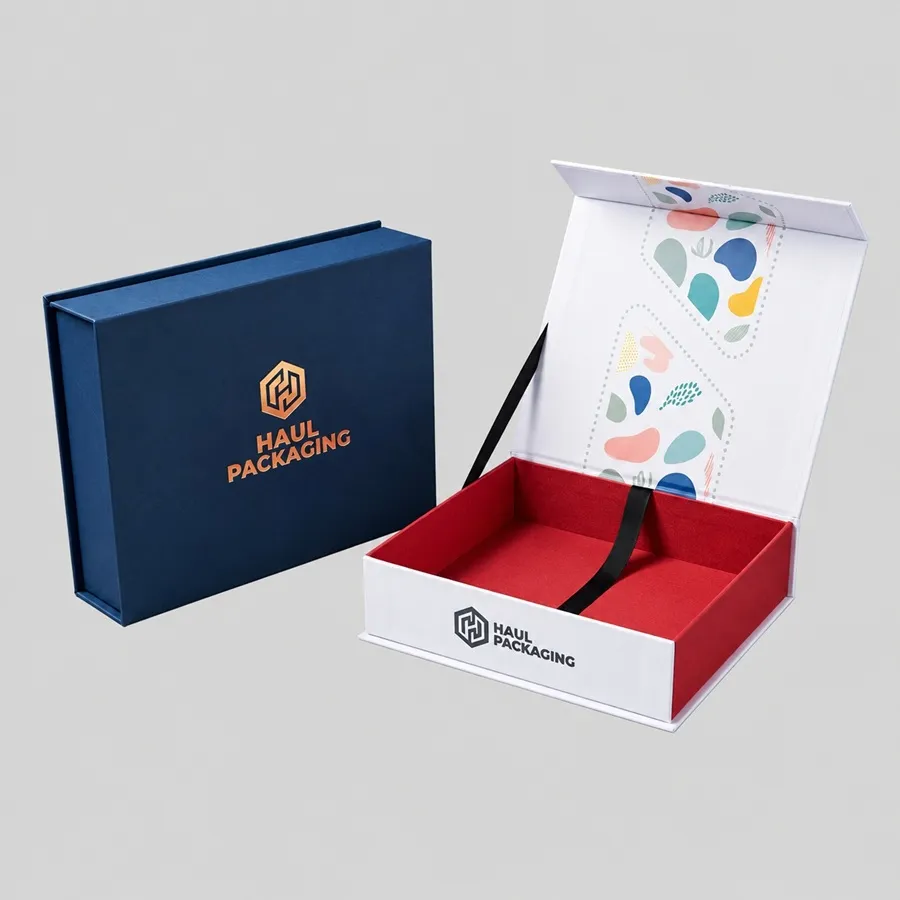
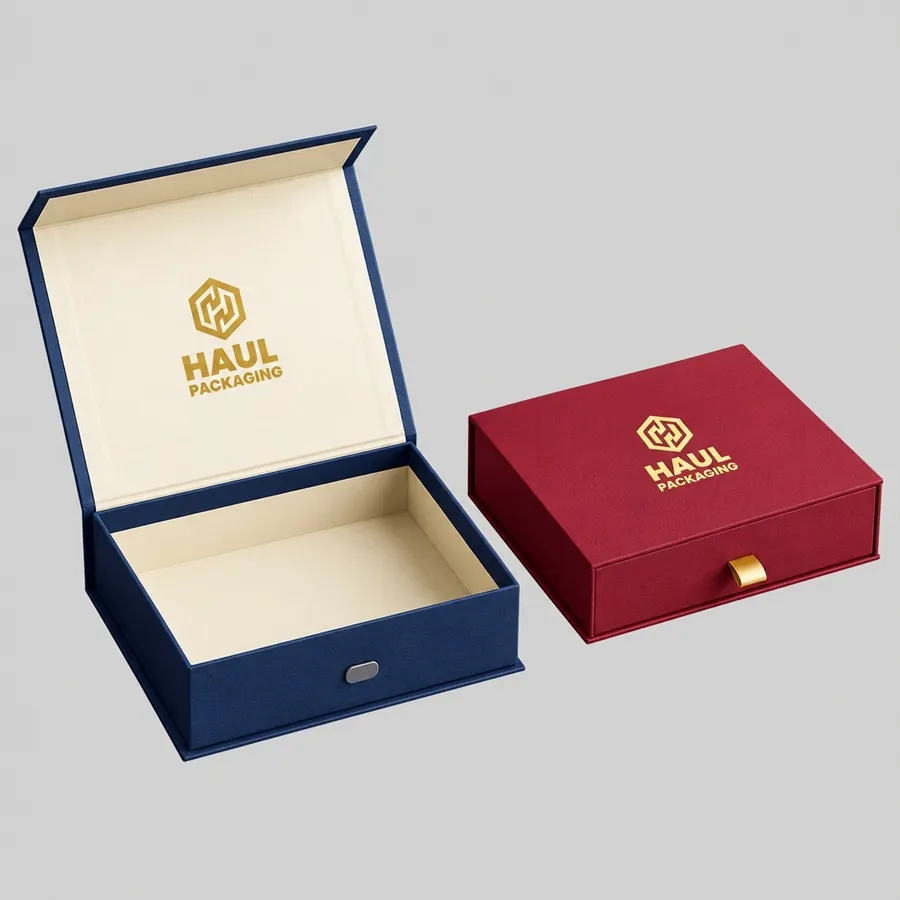
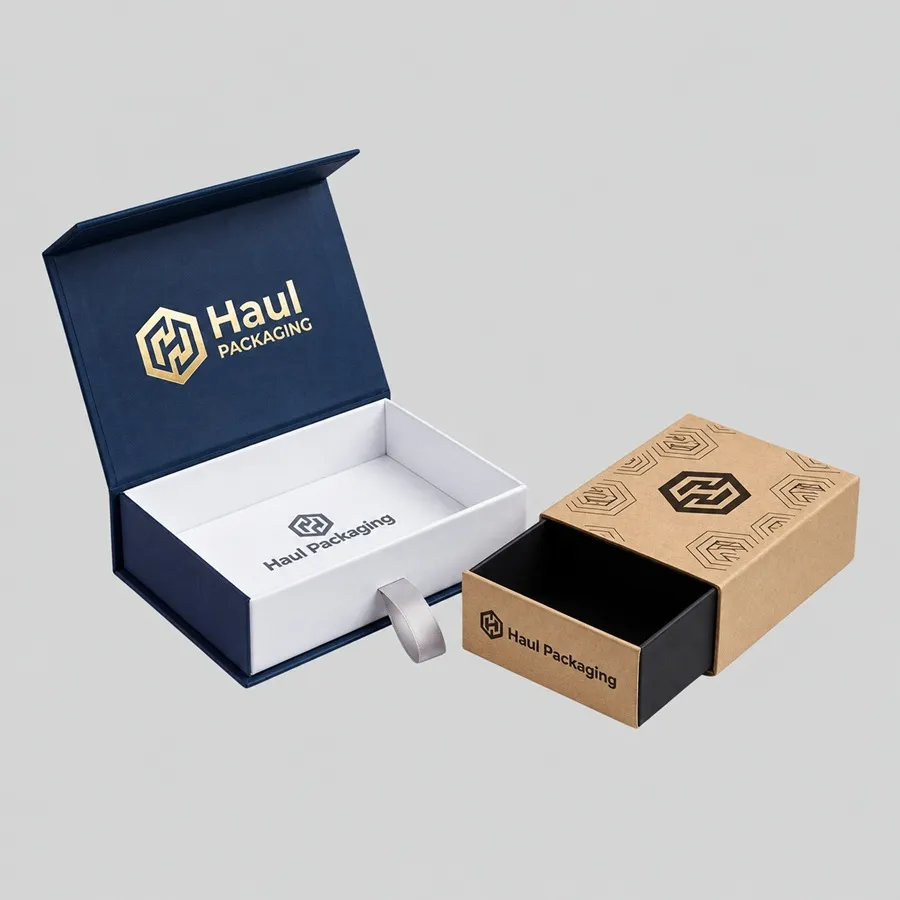
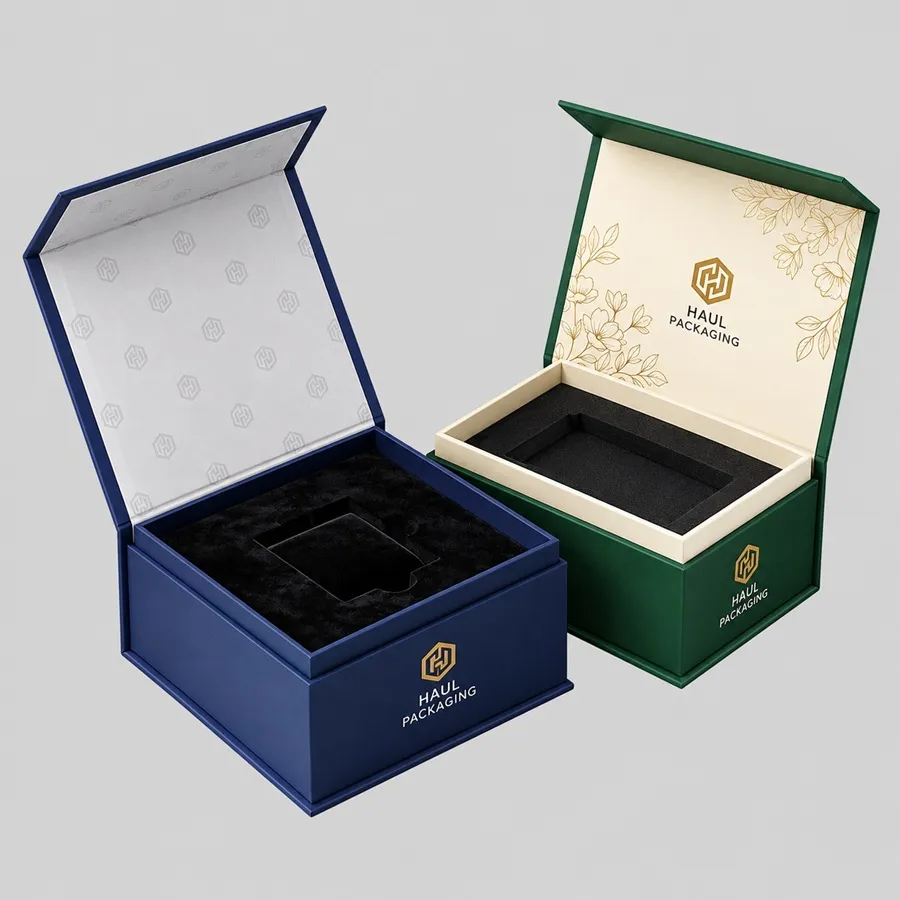
A Hinged Opening
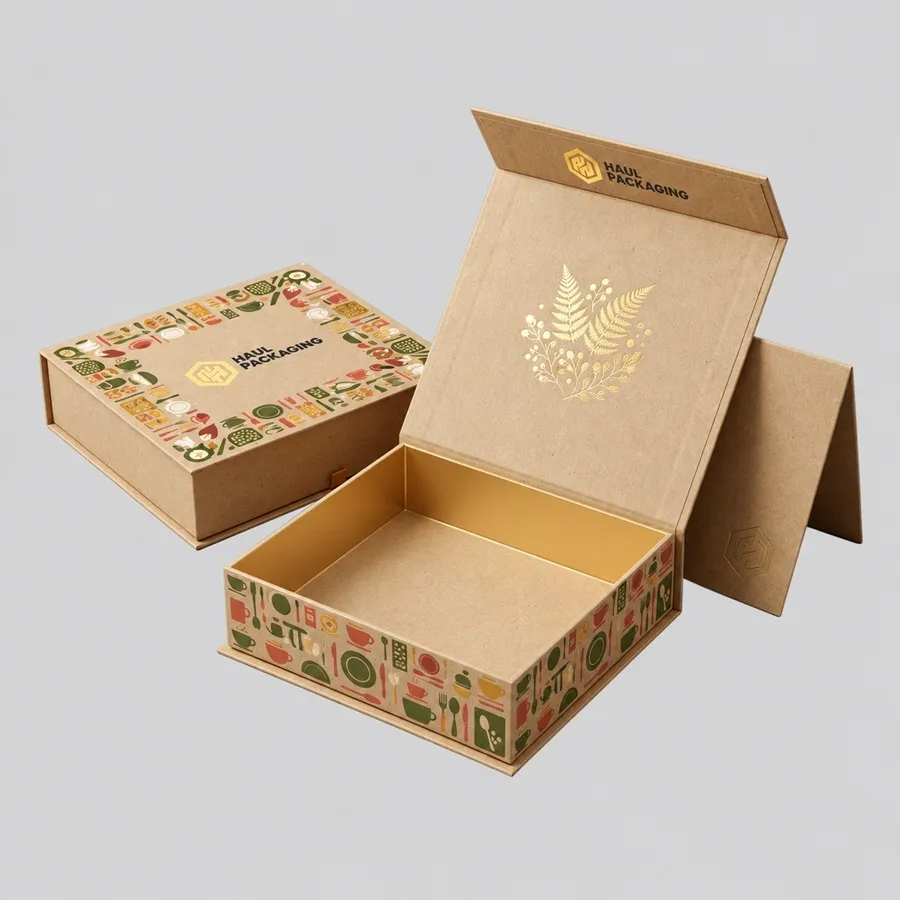
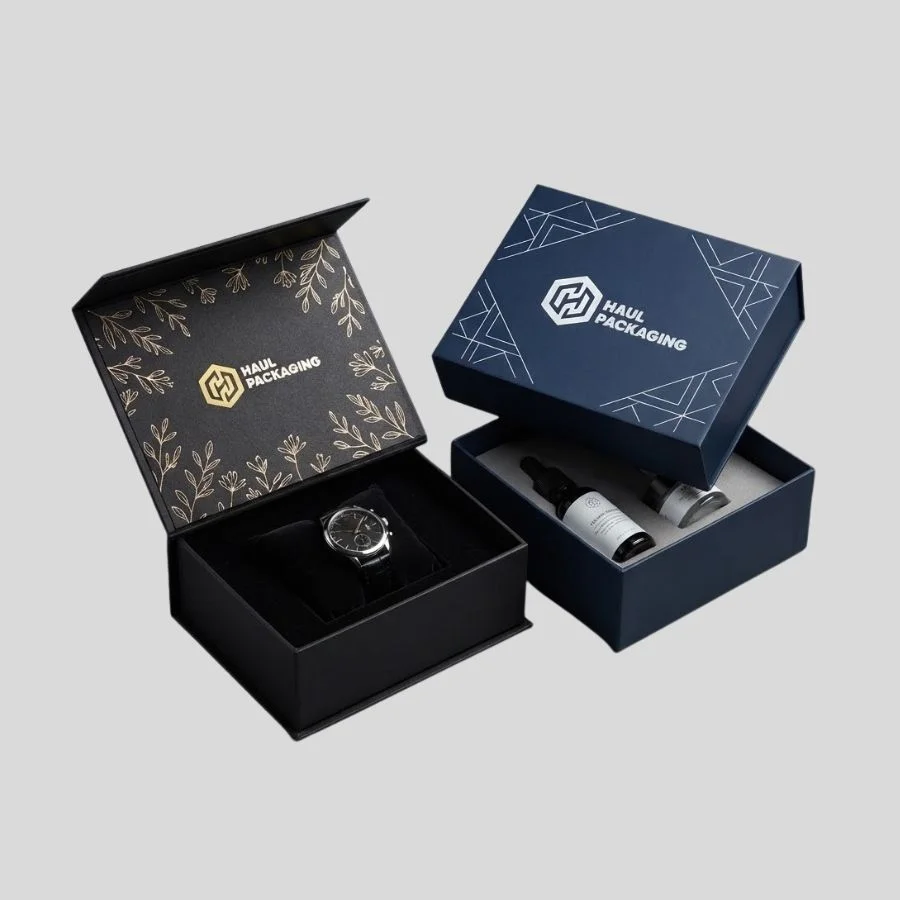
A hinged lid opens like a book or display case. This style works well for premium products, welcome kits, and branded collections.
Book-style rigid boxes offer ample interior space for display. The lid is also a good place for printed messages or campaign artwork.
Magnetic closure: Rigid boxes use magnets to keep the hinged lid closed. Be sure to check where the magnets go and how strong the closure is when you review samples.
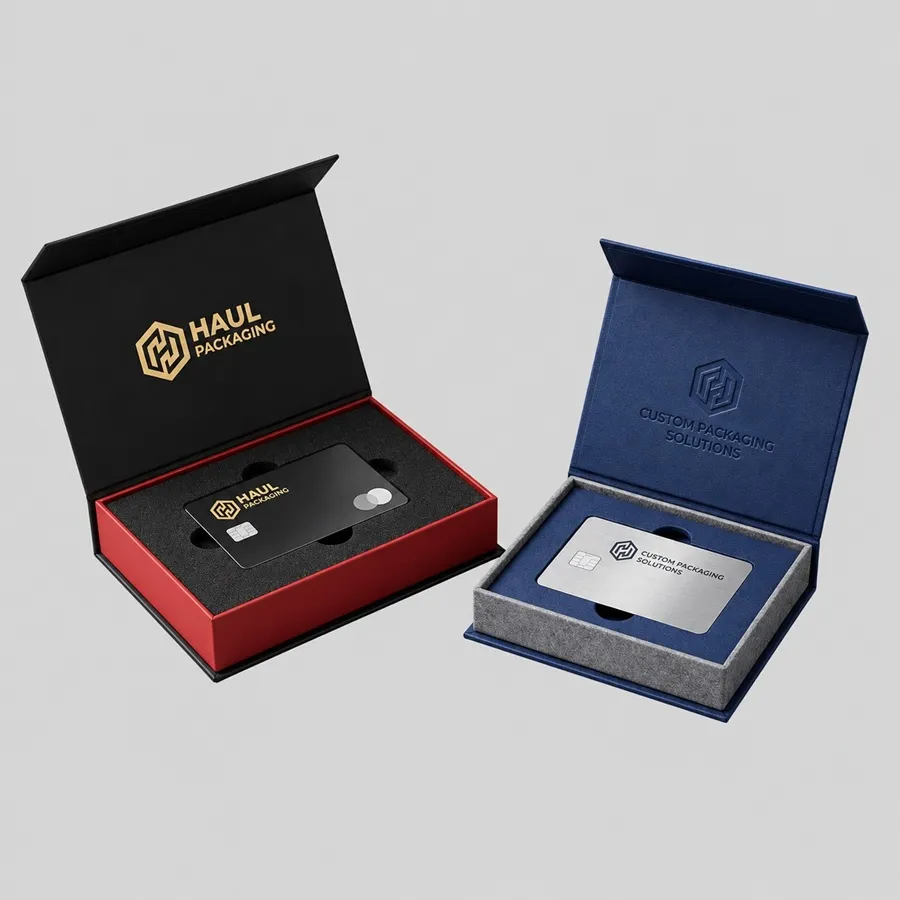
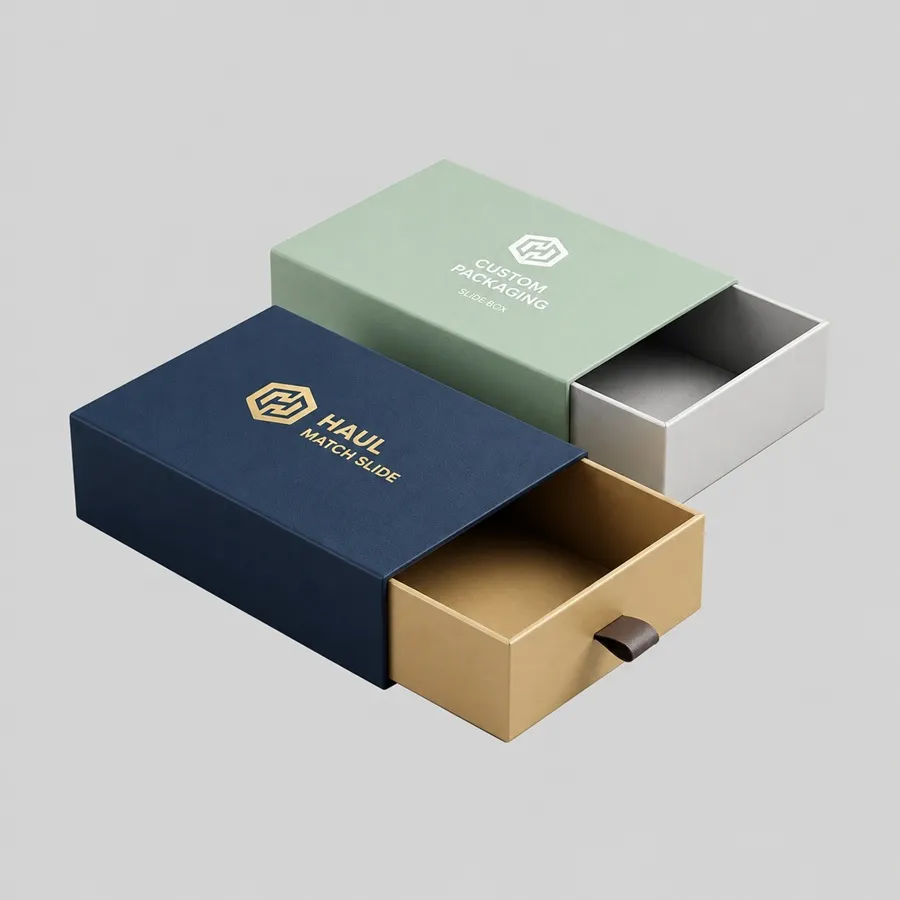
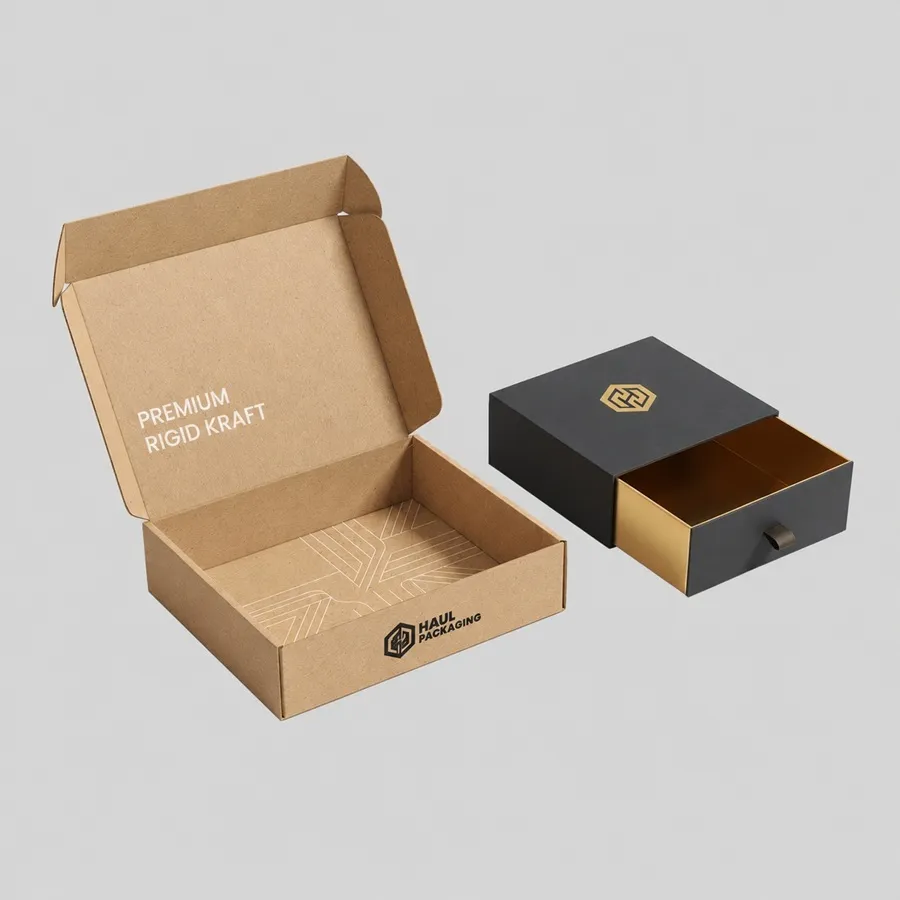
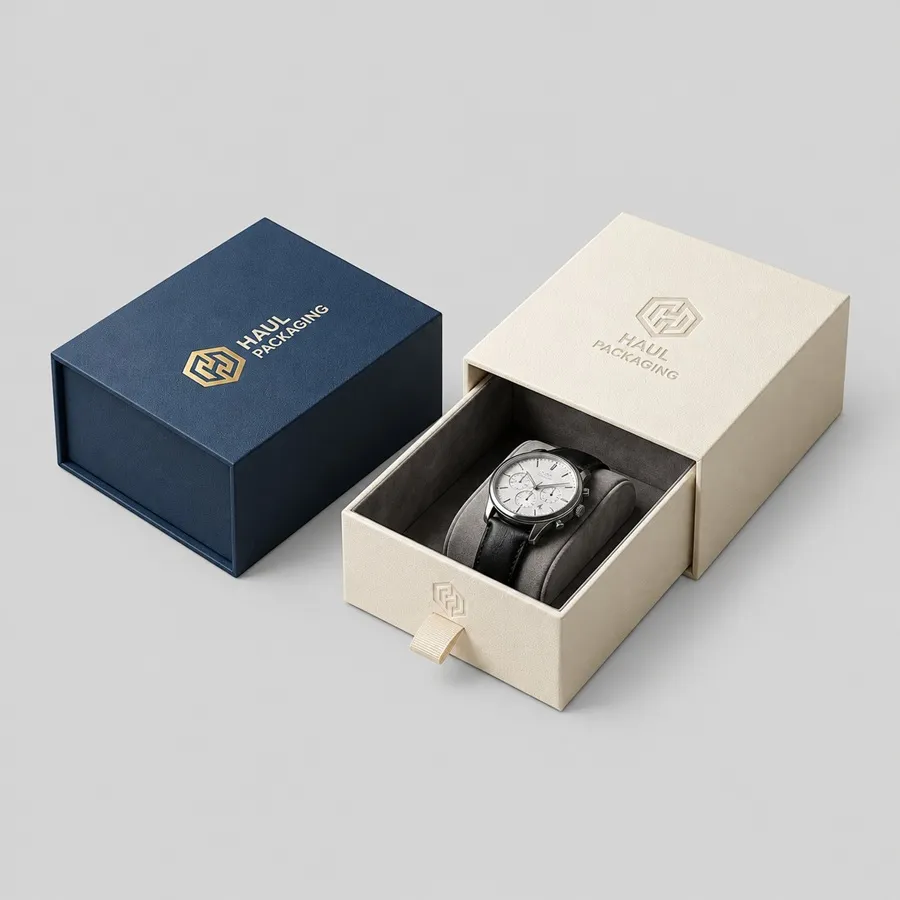
A Sliding Reveal
A sliding box opens more slowly and thoughtfully. It also separates the outside branding from the inside product tray.
Match slide rigid boxes are a good fit for smaller items like gift cards, cosmetics, accessories, and product sets.
Check that the tray slides smoothly but isn’t too loose. Reviewing a physical sample before production can help you get the fit right.
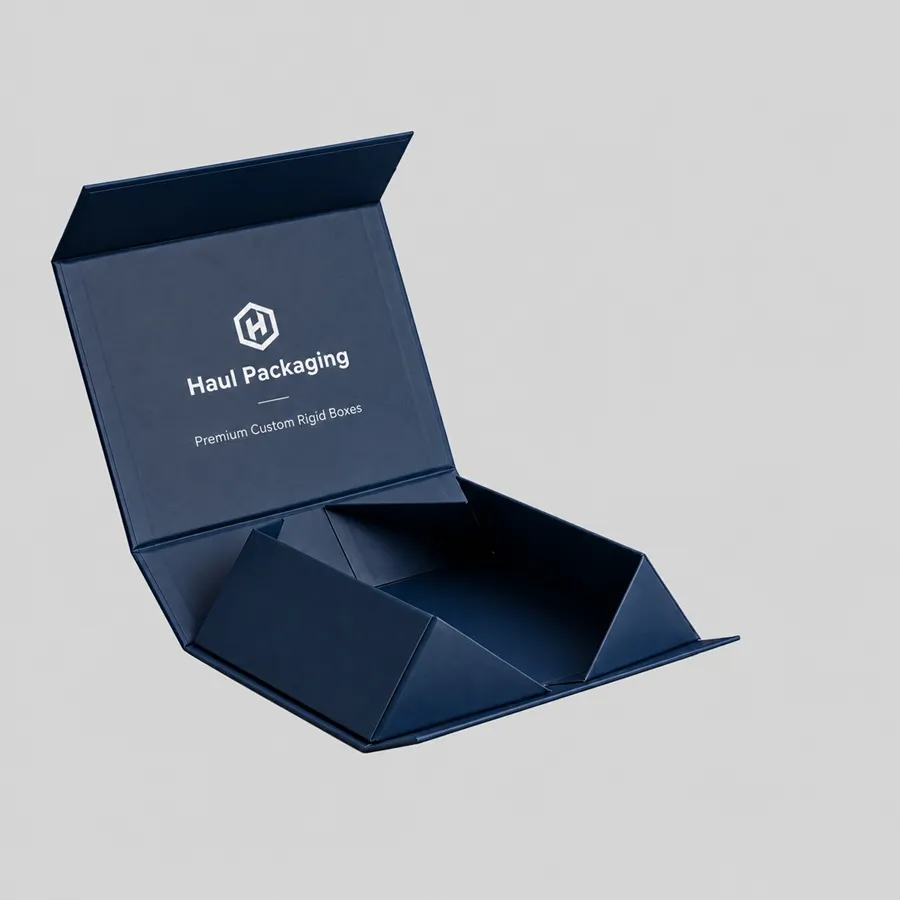
A Space-Saving Format
Traditional setup boxes retain their shape during storage and shipping, which looks good but requires more warehouse space.
Collapsible rigid boxes save space before they’re assembled. They’re a good option for brands that want a premium look but don’t have much storage.
Build the Box Around the Actual Product
Don’t pick the box’s inside size based only on the product’s name, weight, or labeled volume.
Measure the entire product, including caps, lids, handles, cables, protective bags, and anything else that protrudes from the main body.
Next, decide if the product needs an insert. Since inserts change the space inside the box, plan for them before you set the outer size.
- Has a fragile or uneven shape
- Contains several separate pieces
- Must remain centered during presentation
- Needs space for accessories or printed materials
- Should not move during handling
- Requires a particular opening sequence
Decide What the Box Needs to Achieve
A rigid box can serve different purposes, but it’s important to set clear priorities.
A retail gift box may focus on shelf presentation. A PR package may need space for several products and campaign messaging. An apparel box may need a wide, shallow interior. A jewelry or cosmetic box may require a precise insert.
If you’re planning a launch campaign, rigid PR boxes can hold products, printed info, and promotional materials.
If you want to position your product as a premium gift, compare luxury rigid boxes with standard setups or two-piece boxes.
Before choosing, answer these questions:
- Where will customers first see the box?
- Will it sit on a shelf or arrive inside a shipping carton?
- Does it hold one item or a complete collection?
- Will customers keep the box after opening it?
- How much printed information must appear?
- Does the box need an insert, ribbon, or document pocket?
- How will your team store and pack it?
Understand What Changes the Quote
Two rigid boxes that look the same size can still need very different production steps.
The final quote may depend on:
- Finished length, width, and depth
- Board thickness
- Box structure
- Outer wrapping material
- Printing method
- Number of printed surfaces
- Insert design and material
- Closure type
- Finishing details
- Order quantity
- Sampling requirements
- Packing and shipping format
Use Finishes With a Clear Purpose
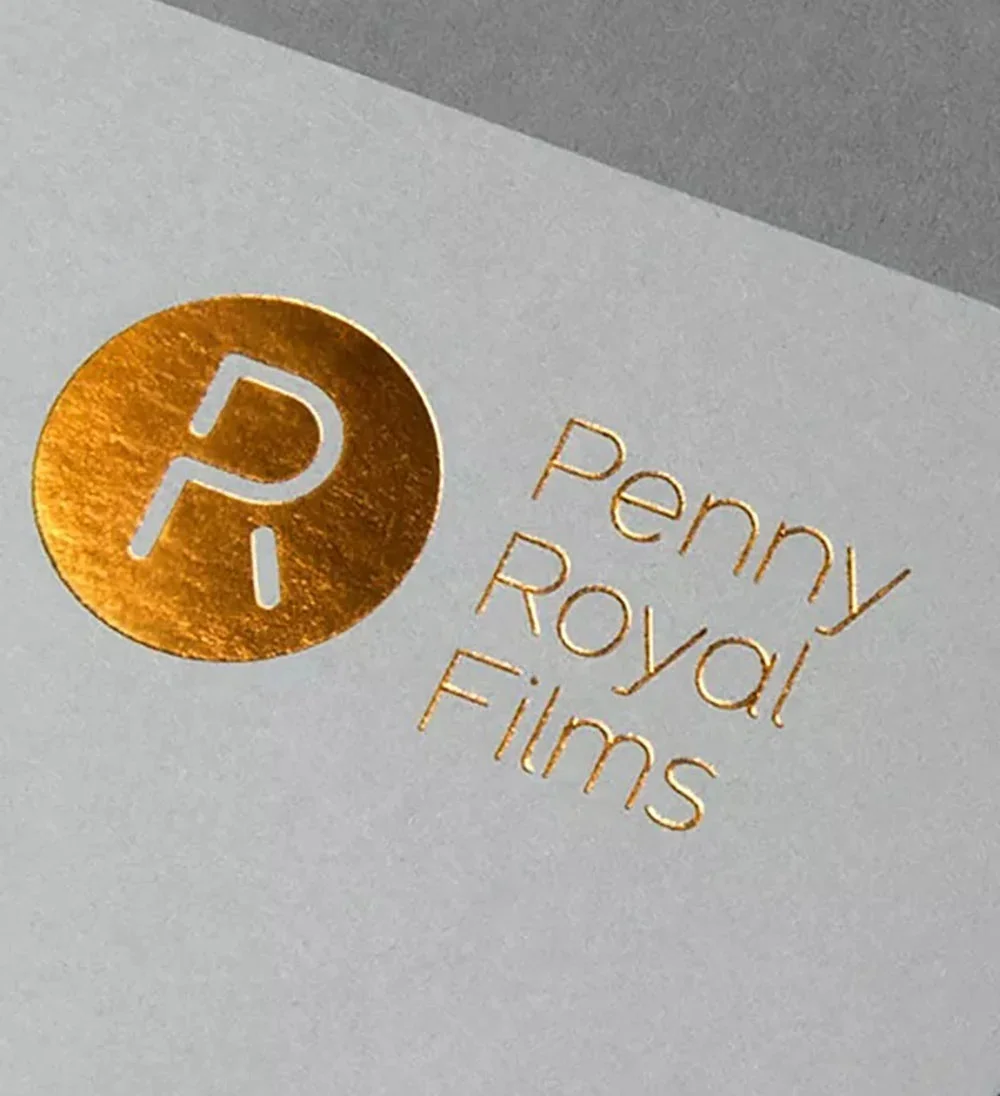
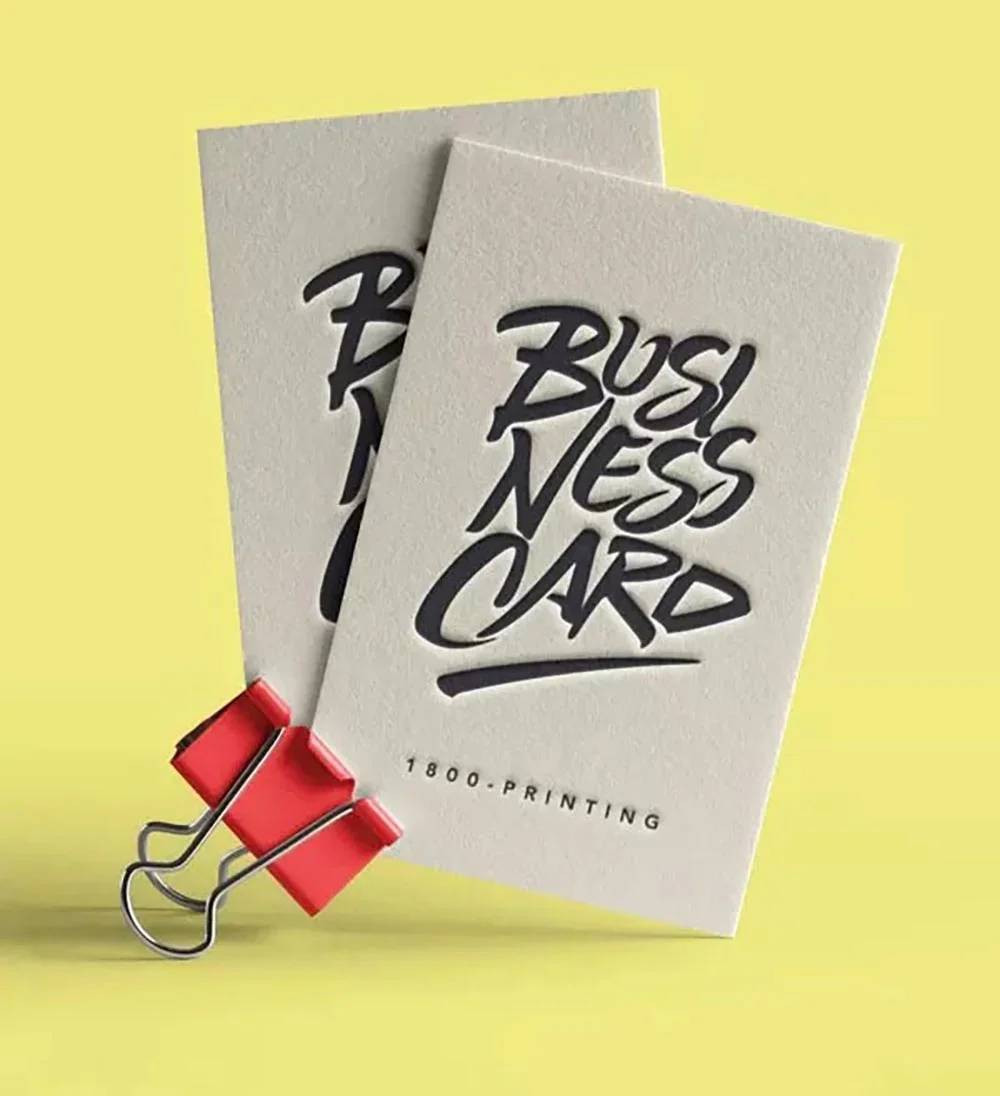
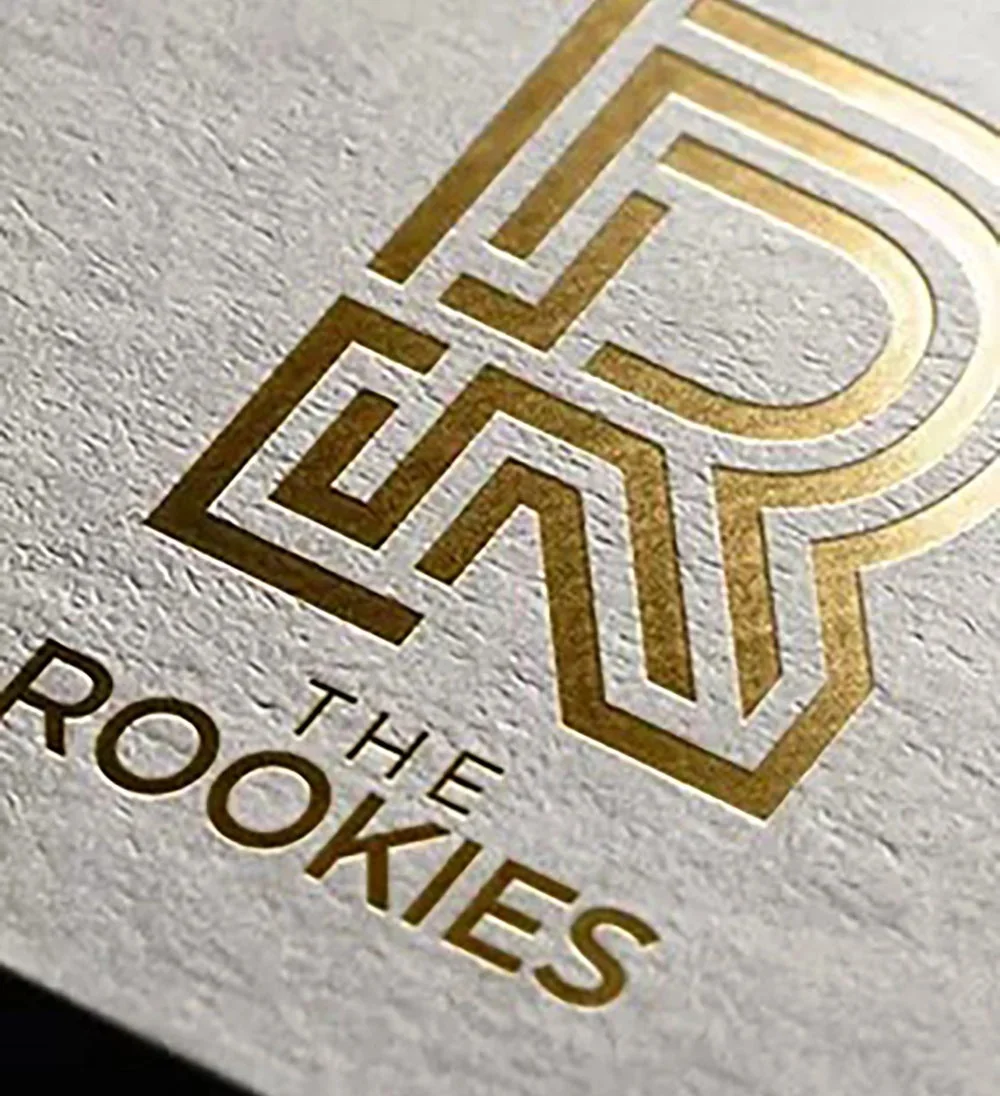
Foil stamping can highlight a logo, border, or product name. Embossing raises a selected area, while debossing presses the design into the surface. Spot UV creates contrast between glossy and non-glossy areas.
Matte and soft-touch finishes give a subtle look, while gloss finishes can make colors or photos stand out more.
Don’t use every finish on one box. Pick one or two details that support your brand’s look.
- The finish location
- The approximate finish size
- The final surface texture
- The expected color result
- Any limitations on fine details
- Whether the sample matches full production
Consider Storage and Delivery Before Production
Rigid boxes usually need more storage space than folding cartons. Pre-assembled boxes are ready to pack, but each one occupies its full storage space.
Collapsible boxes save storage space, but they require assembly and may use different closure parts.
Talk through both options with your warehouse or fulfillment team. Find out how many boxes fit in each shipping carton and how much space the whole order will need.
Also check if the finished rigid box will be shipped inside another mailer or carton. A presentation box alone might not protect the product during shipping.
Planning these details early helps you avoid surprise storage or shipping problems later.
Approve the Structure Before the Full Order
A digital preview can’t show you how a rigid box will feel, open, or fit.
- Confirm the finished product dimensions.
- Review the proposed box structure.
- Check the dieline and artwork placement.
- Review a digital or three-dimensional mock-up.
- Ask for a physical sample if fit or presentation is especially important.
- Put your actual product inside the sample box.
- Try out the opening, closing, and insert to make sure everything works well.
- Look over all the printed text at its actual size.
- Make sure the material and finish match what you approved.
- Only give the go-ahead for production after you’ve fixed any problems.
Prepare a Complete Rigid Box Brief
- Product name and purpose
- Exact product dimensions
- Product weight
- Required box quantity
- Preferred opening style
- Insert requirements
- Number of products inside
- Outer wrapping preference
- Printing requirements
- Logo and artwork files
- Preferred finishes
- Required sample type
- Storage limitations
- Shipping method
- Target completion date
Why Us?
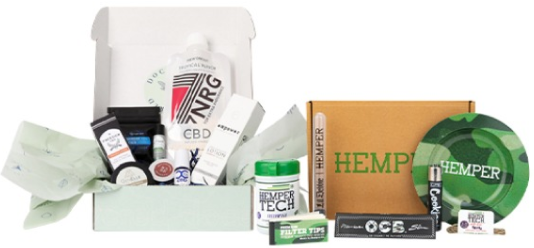
At Haul Packaging, we believe your packaging is more than just a box—it's a marketing tool, a brand ambassador, and a promise of quality, all rolled into one. Whether you're running a small e-commerce startup or an established retail brand, this guide will walk you through everything you need to know about finding the perfect custom packaging in the USA.
Premium Finishes
Haul Packaging provides a range of high-quality finishings, including as foil stamping, glossy or matte coatings, embossing, and soft-touch finishes, to improve the visual attractiveness of packaging. These finishes have the power to increase a product's perceived worth and make it stand out on retail shelves.
Copper Foiling
Debossing
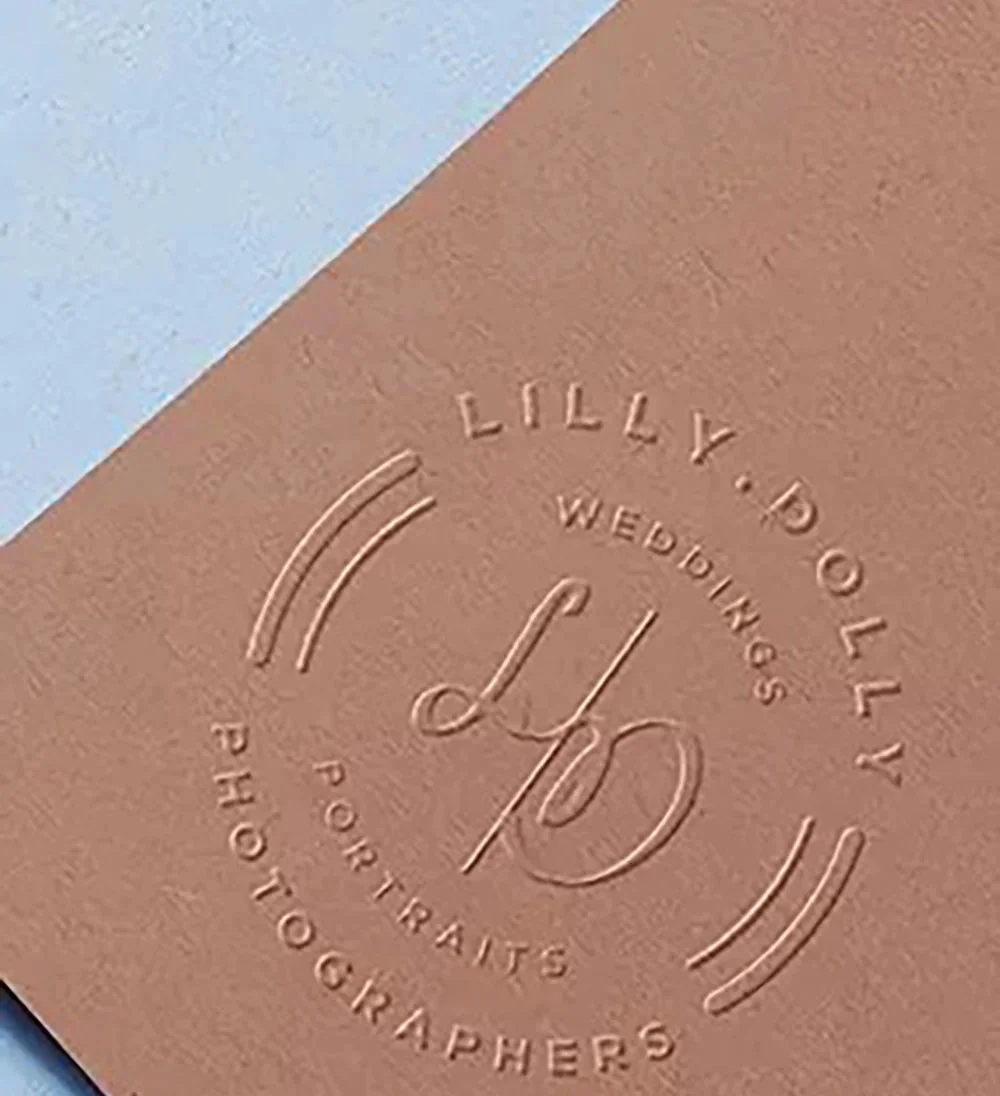
Embossing
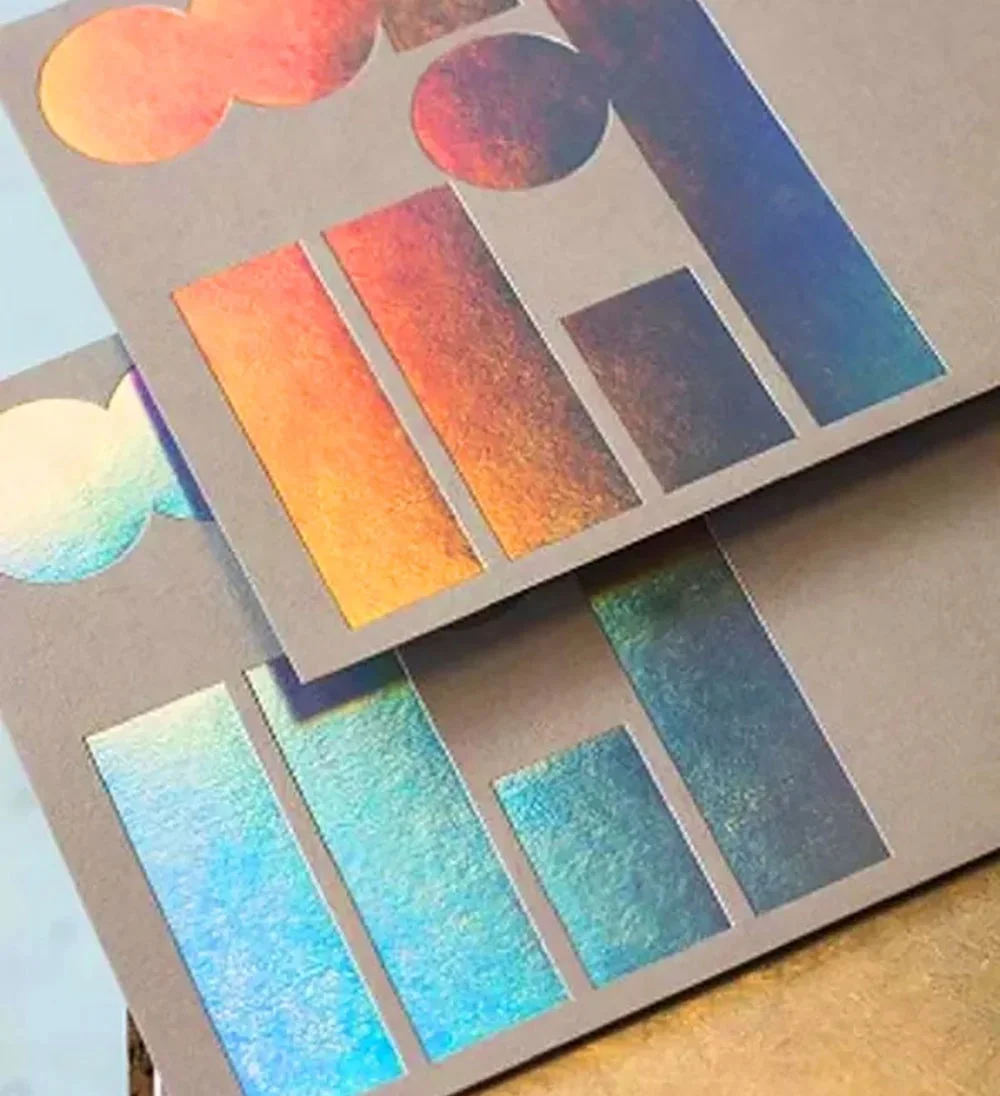
Holographics foiling
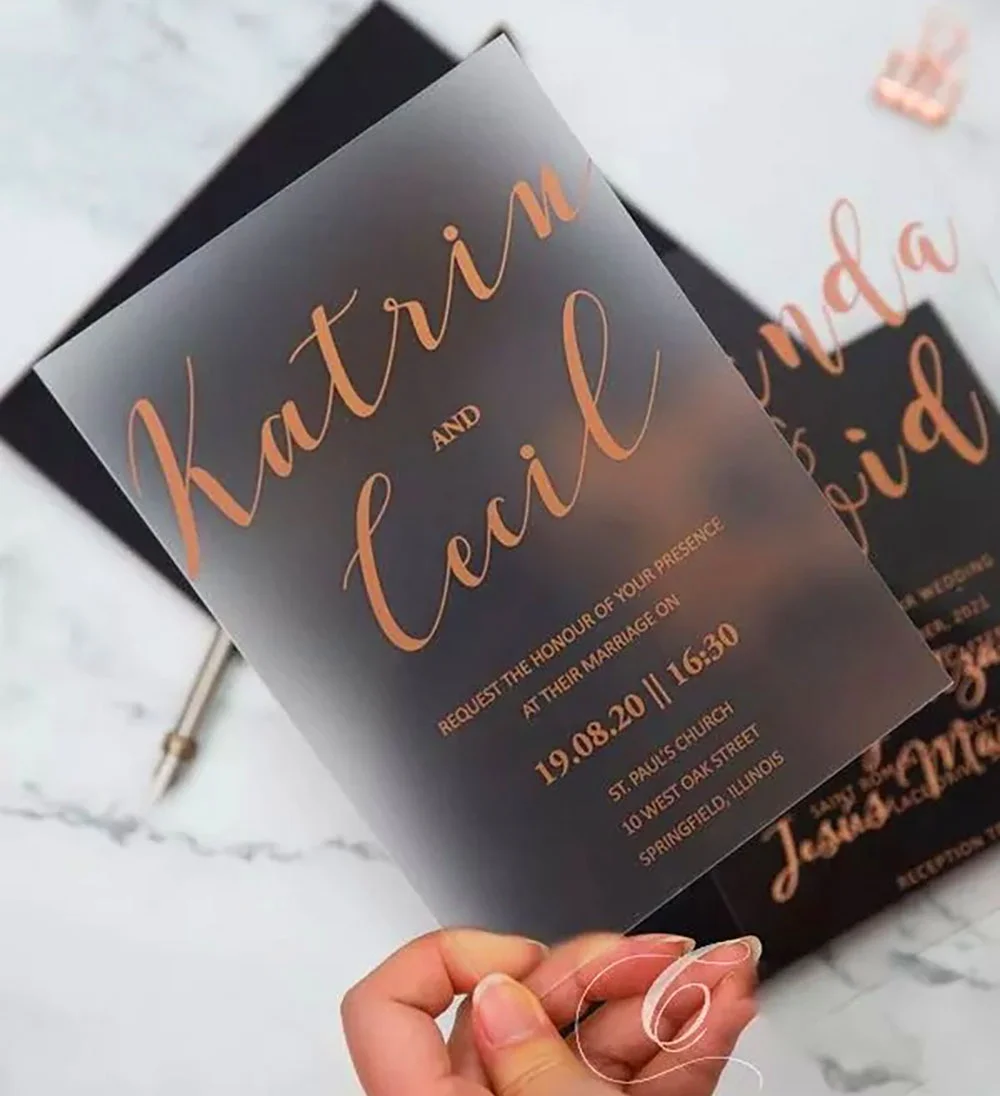
Rose Gold
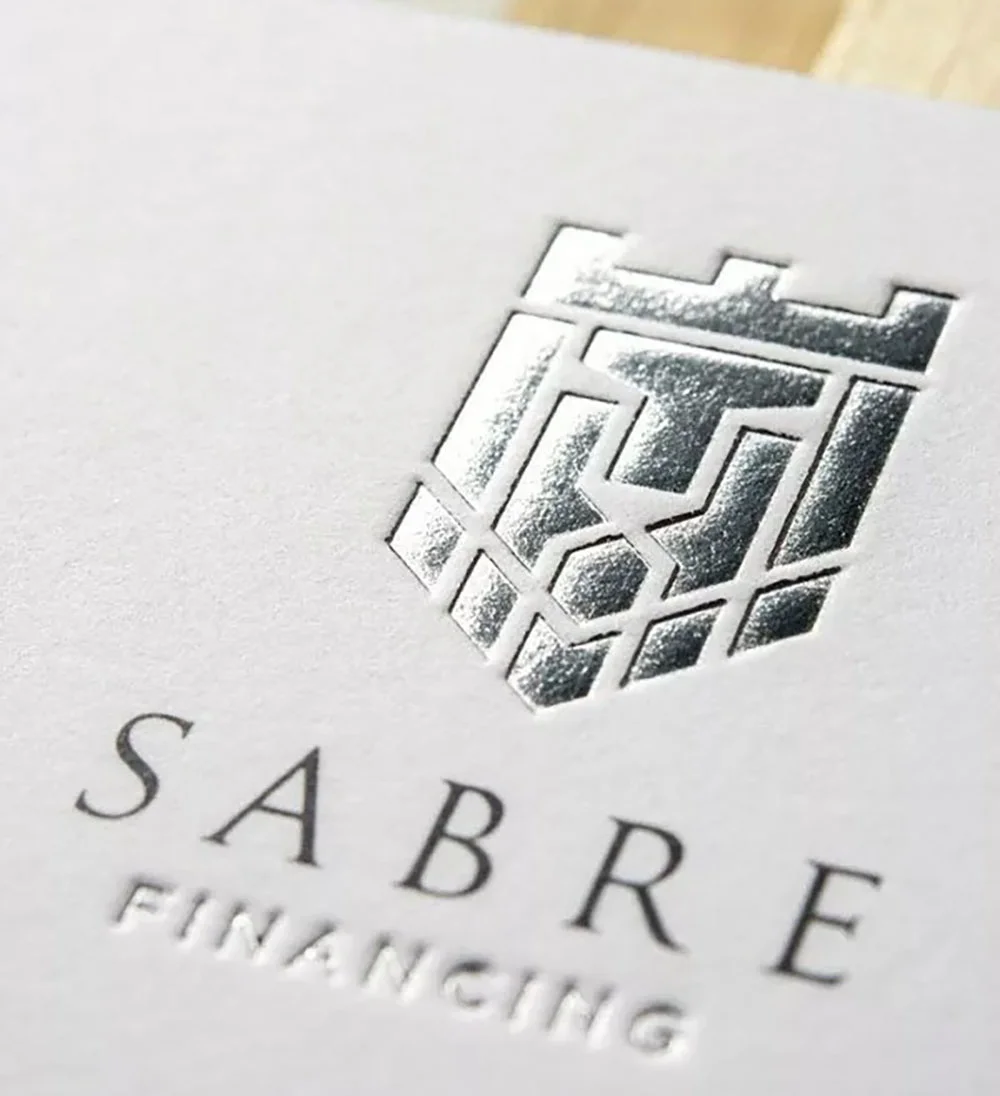
Silver Foiling

Spot UV
The Rookies
Card Stock Options
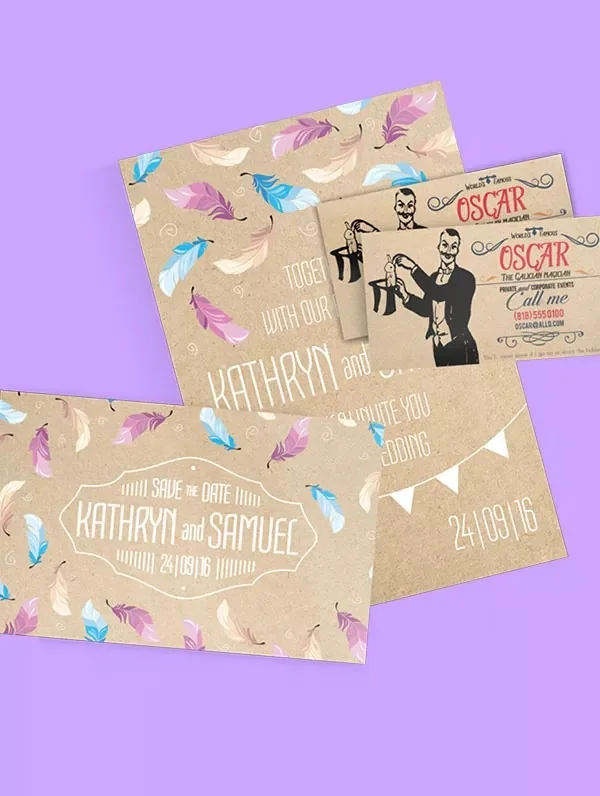
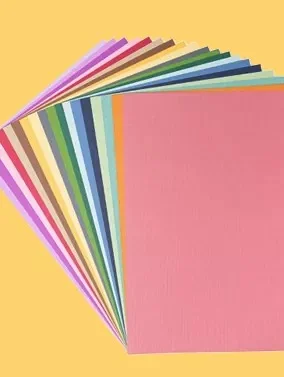
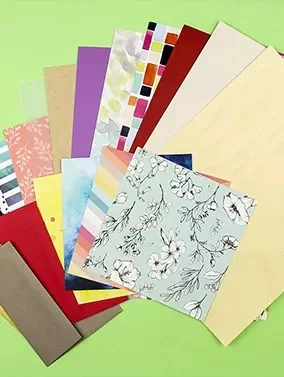
Haul Packaging provides a large selection of card stock types to meet various needs for packaging. You may give your box an adorning appearance and feel by selecting from a range of cardstocks with varying thicknesses, textures, and colors. The card stock selections for Haul Packaging are of excellent quality and longevity, guaranteeing that the packaging not only looks fantastic but also protects the contents within.

Corrugated

Glitter
Kraft
Matte
Textured